High energy CT or XXL-CT

XXL computed tomography

The development of complex products is hardly imaginable without modern 3D tools. Knowledge of the geometrical characteristics and the interaction of internal and external structures enables decisive optimizations of the product in the development process and beyond. Whether for simulation calculations for a crash test or to ensure product quality or for detailed material analysis – 3D measurement data closes the gap between theory and practice!

What was previously only possible for limited object sizes with a diameter below one meter can now also be realized for large objects such as, for example, assembled vehicles, sea- freight containers or aircraft parts. XXL computed tomography (XXL-CT) opens up the unique opportunity to scan large-volume objects in full in three dimensions for industry and research. The application of high X-ray energies up to 9 MeV enables not only a high level of penetration, but also a high-fidelity imaging of density for a wide variety of materials with spatial resolutions in the submillimeter range.
© Fraunhofer IIS/ Paul Pulkert
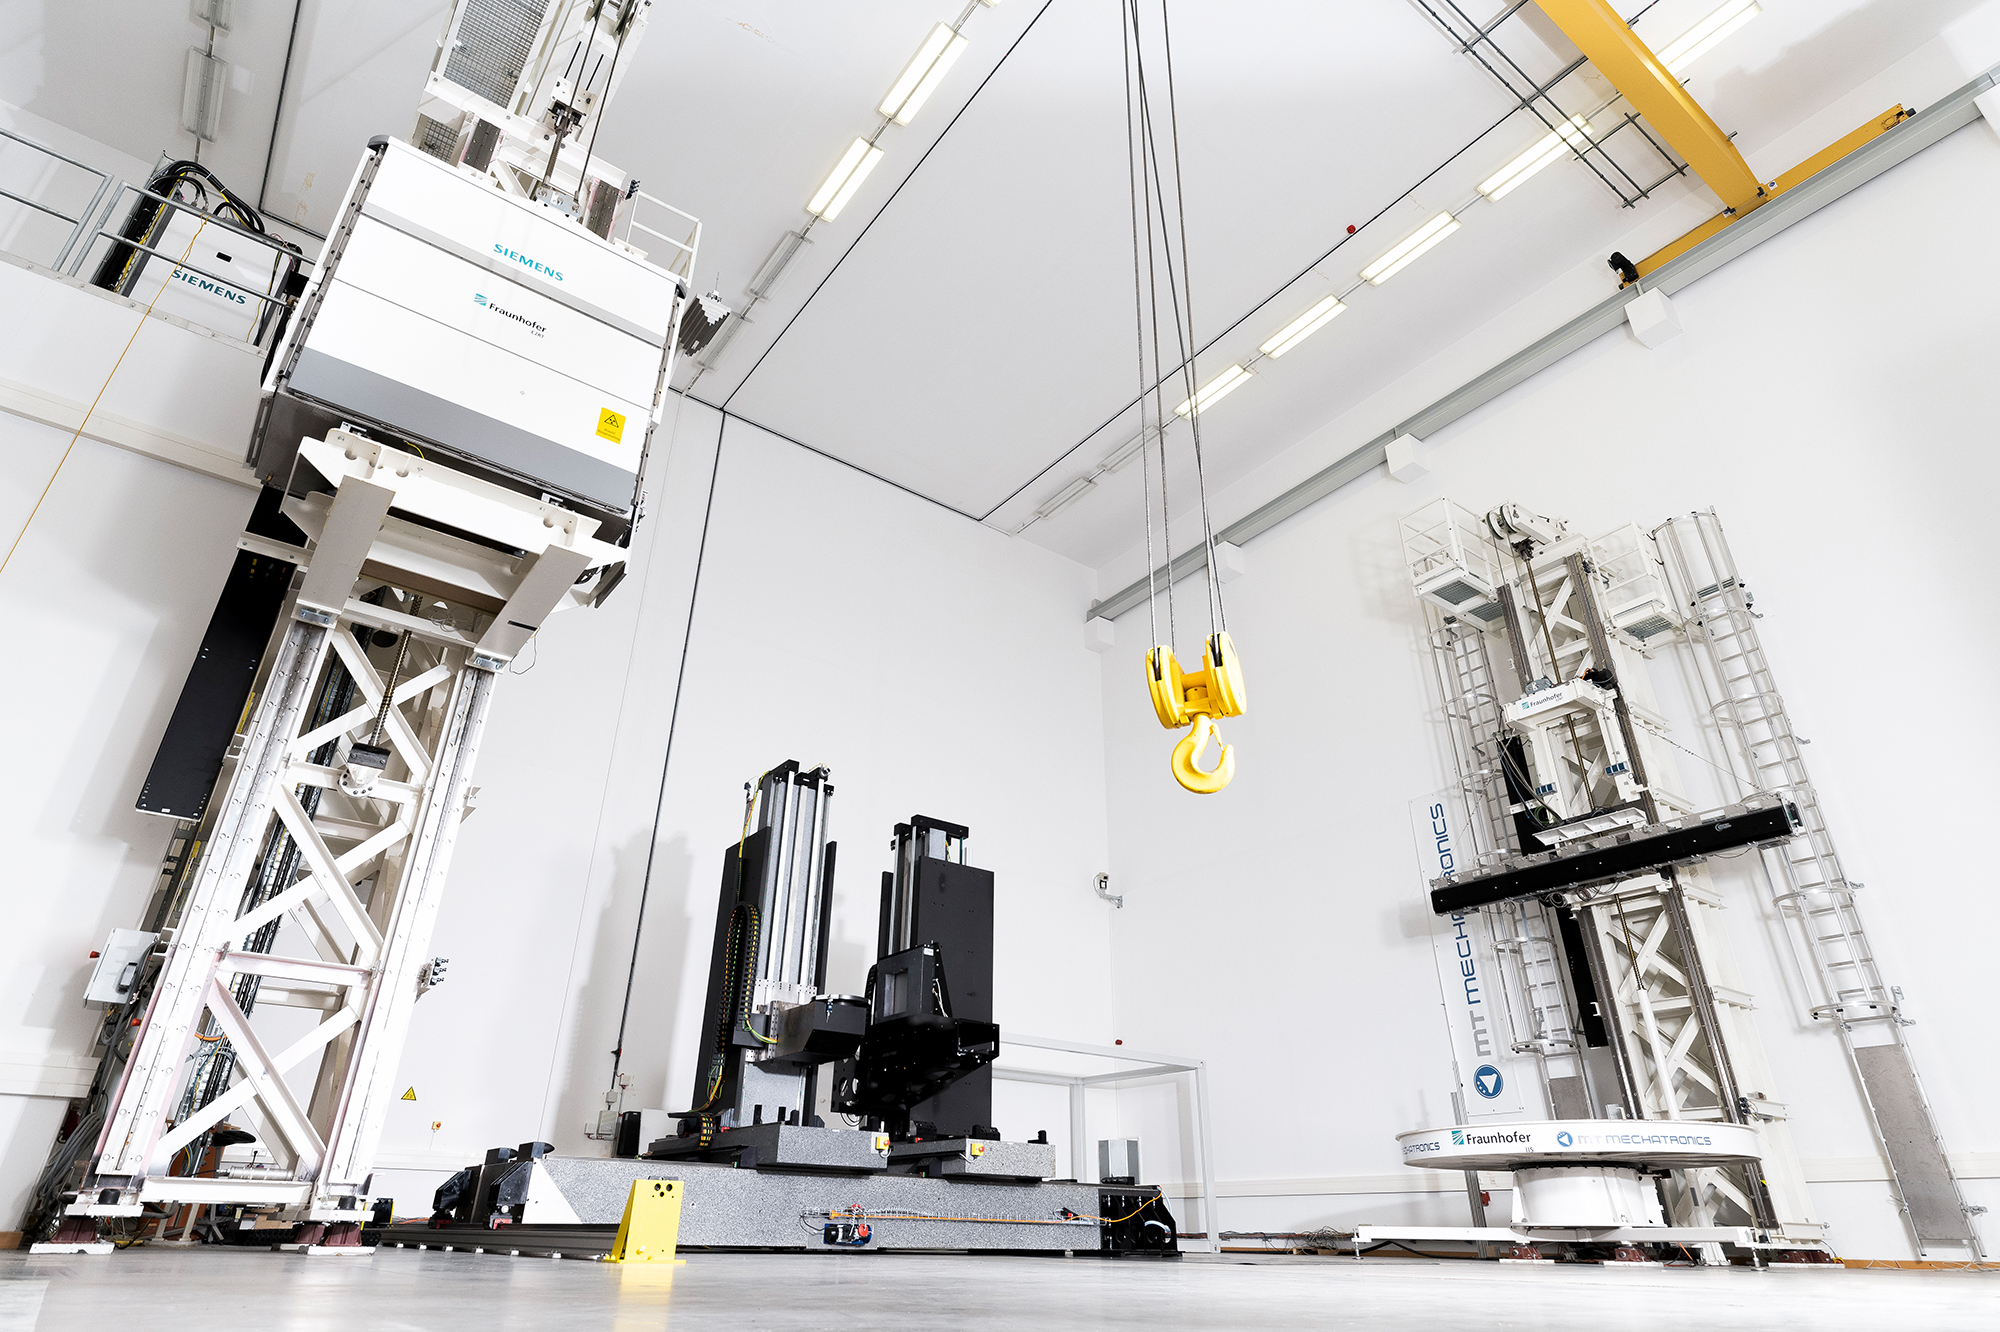
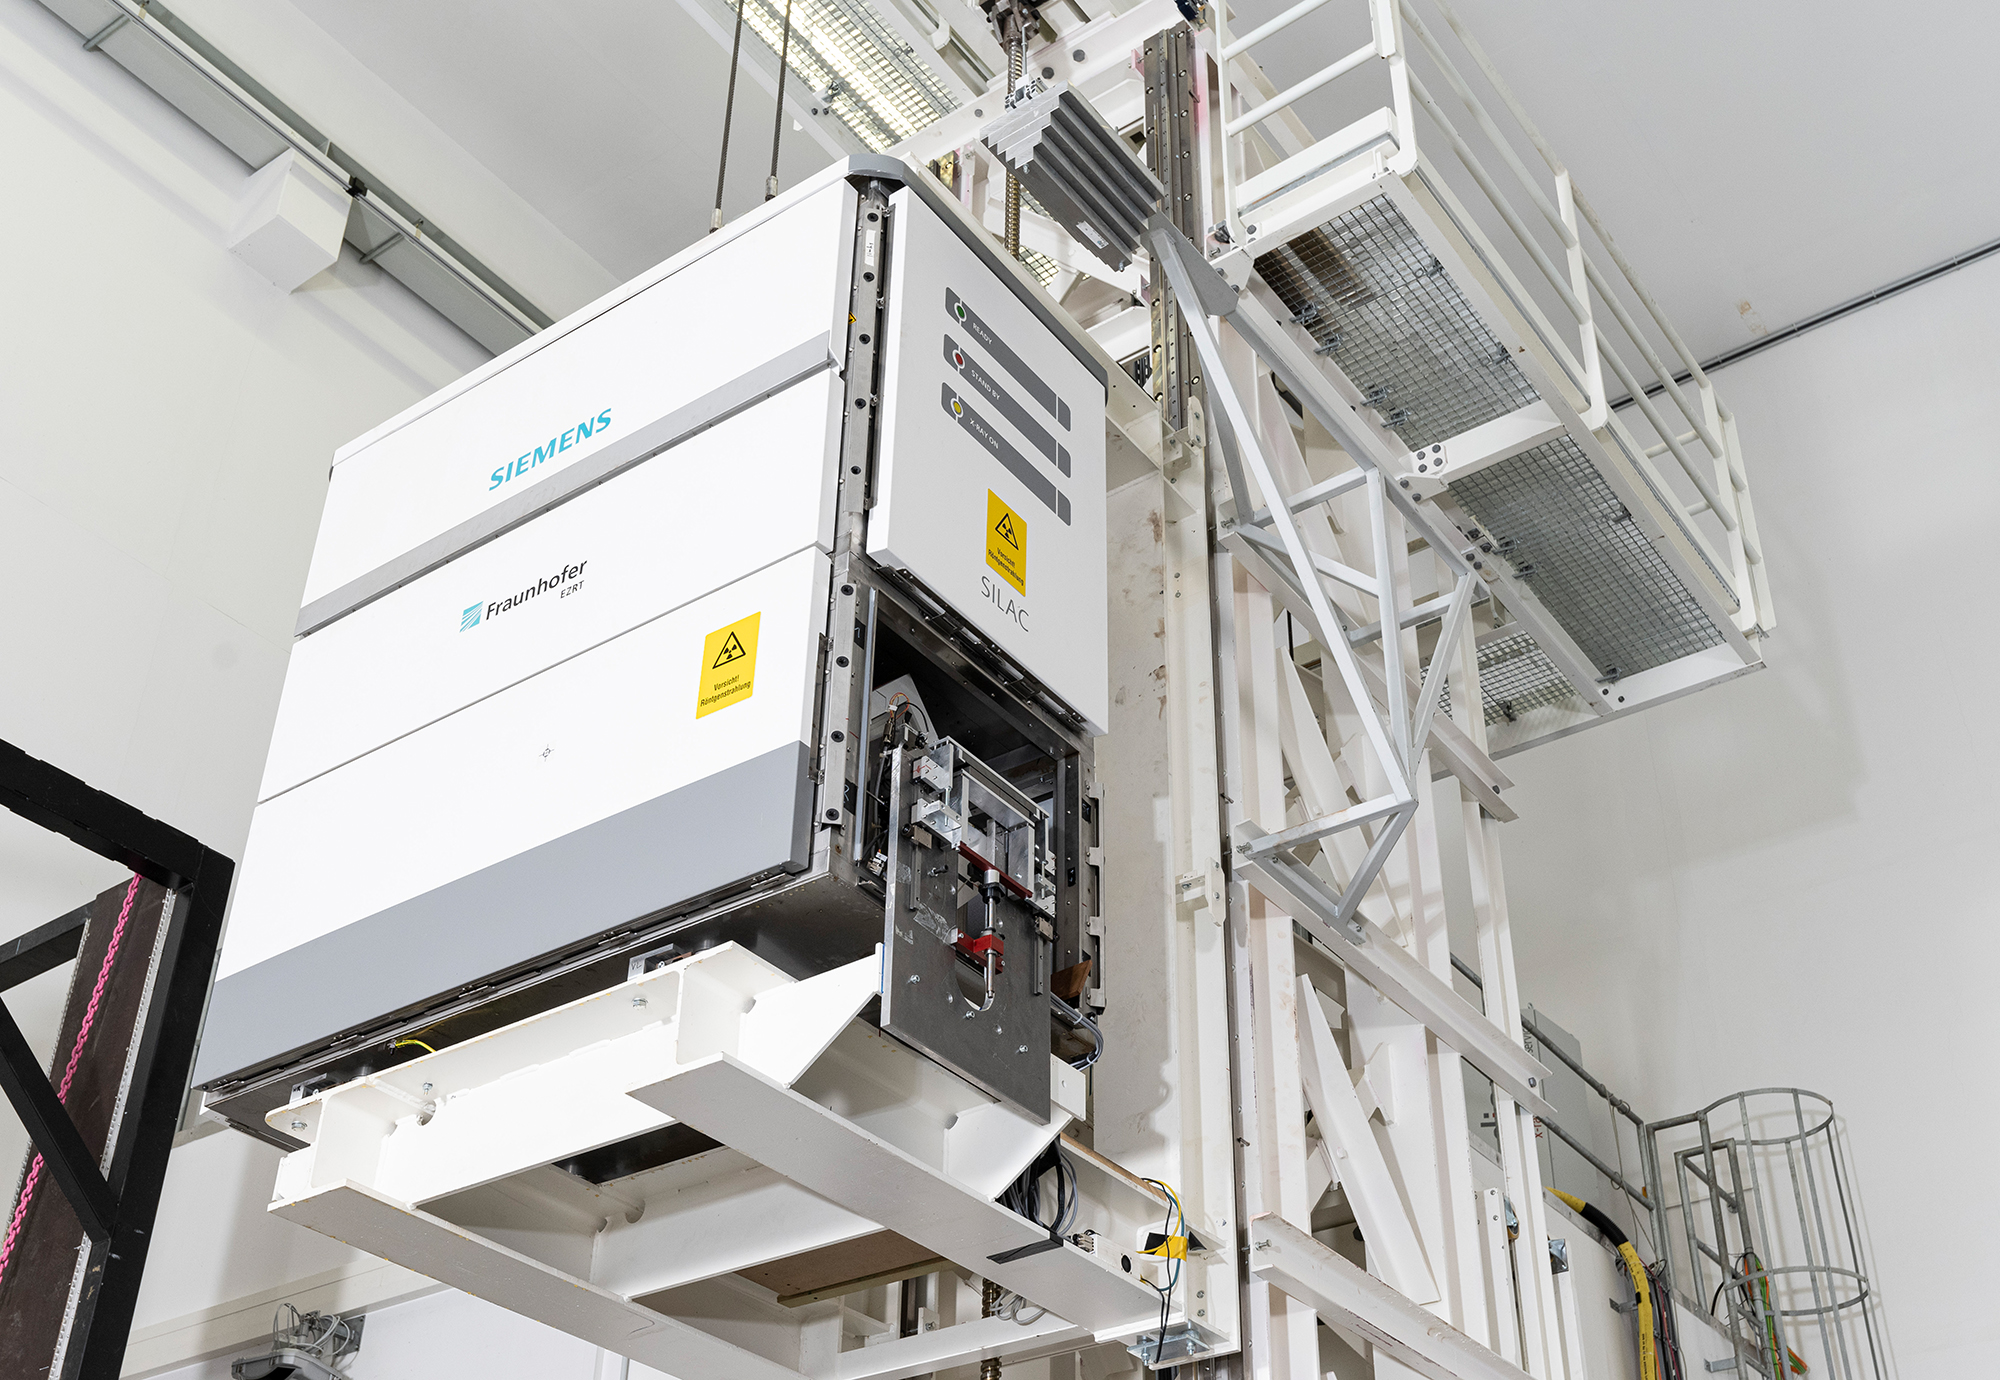
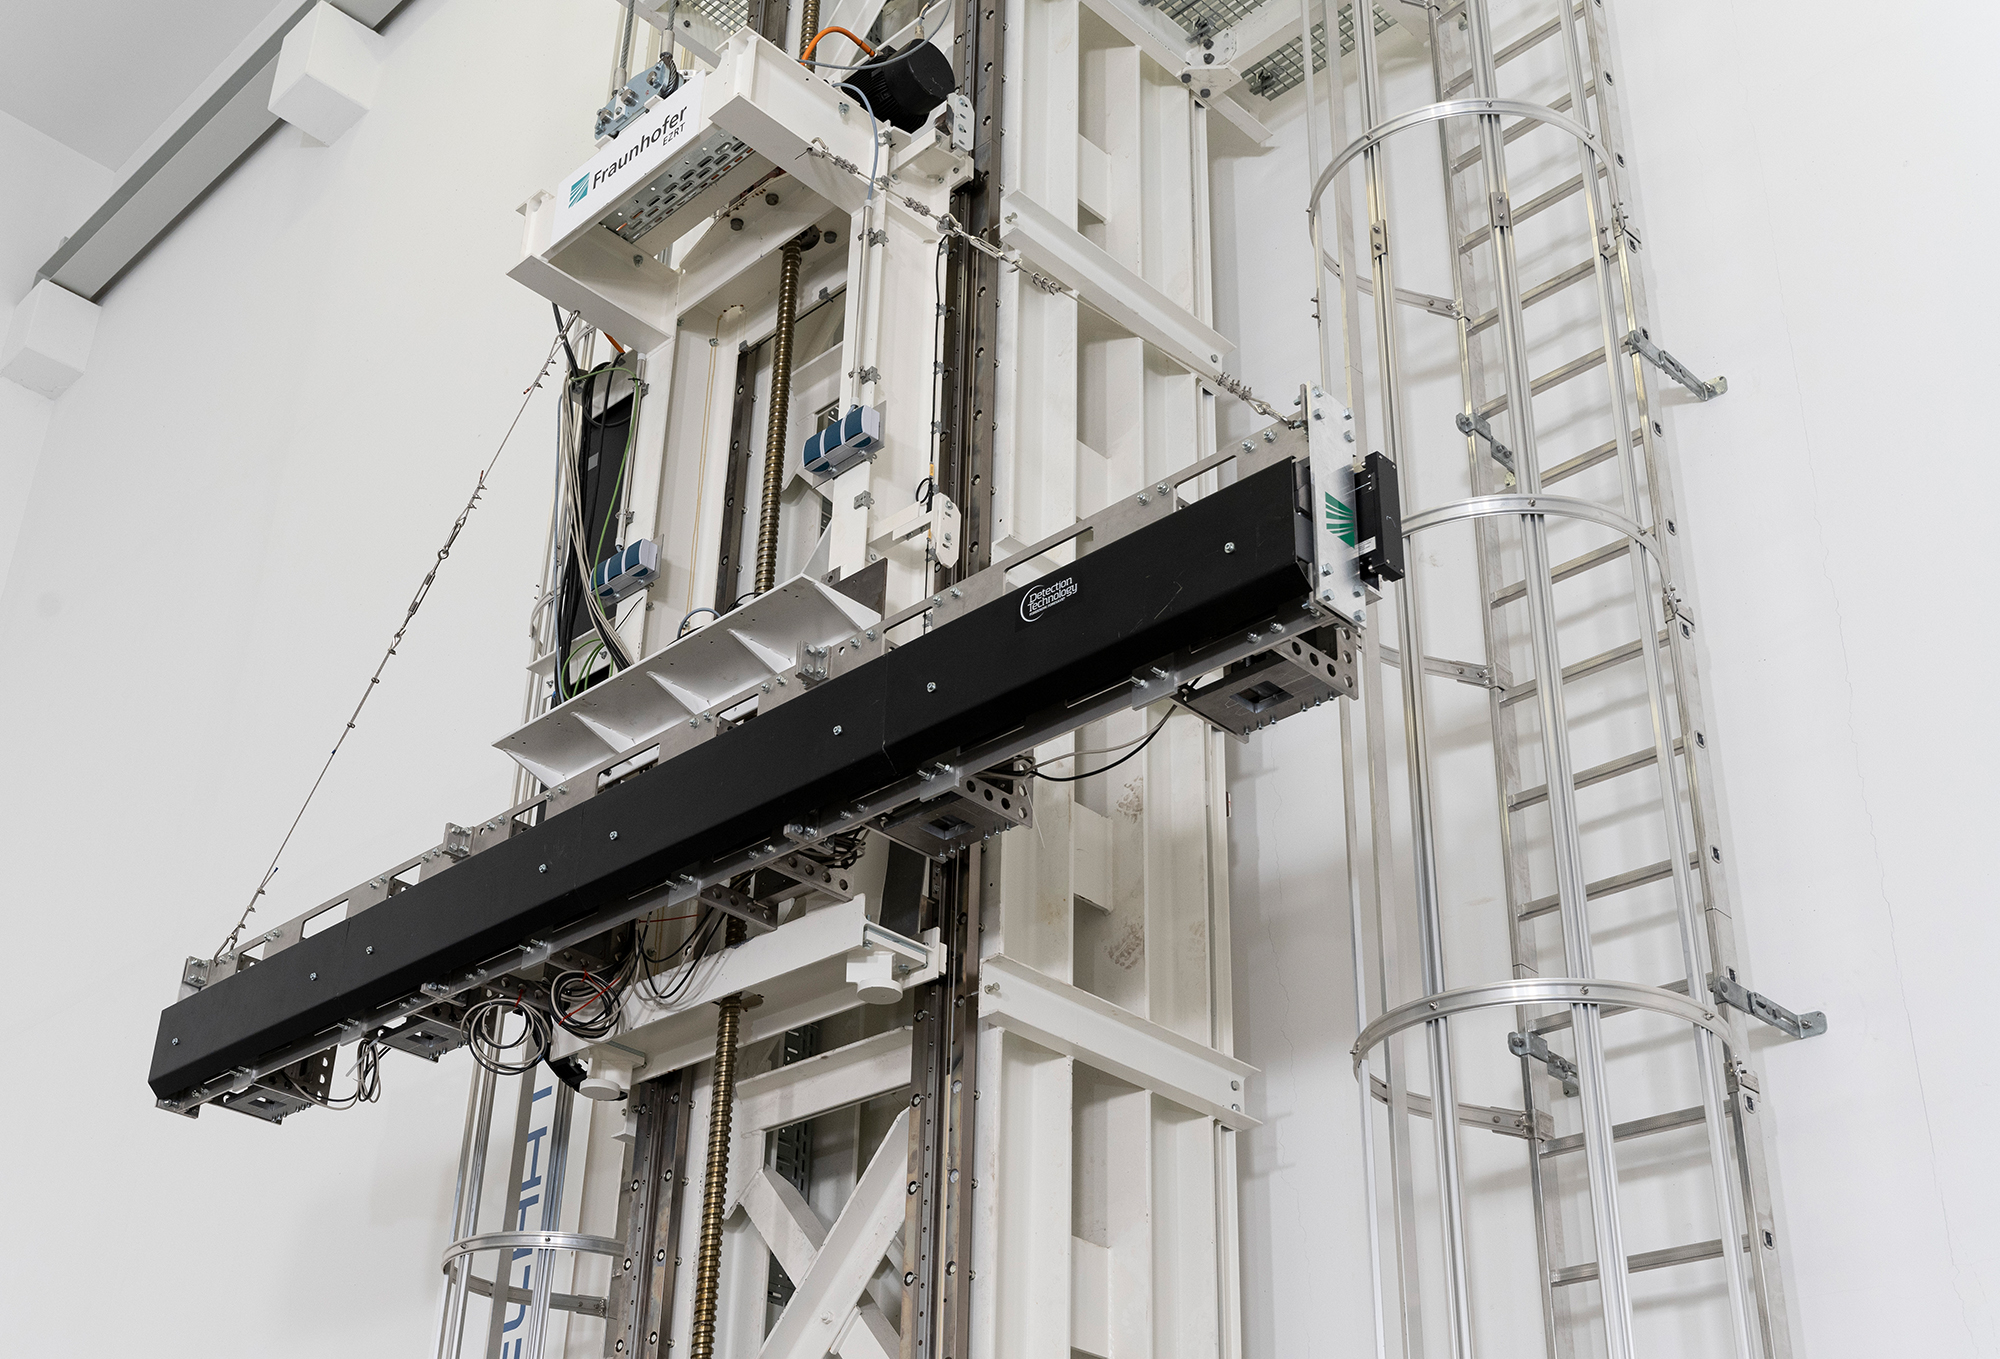
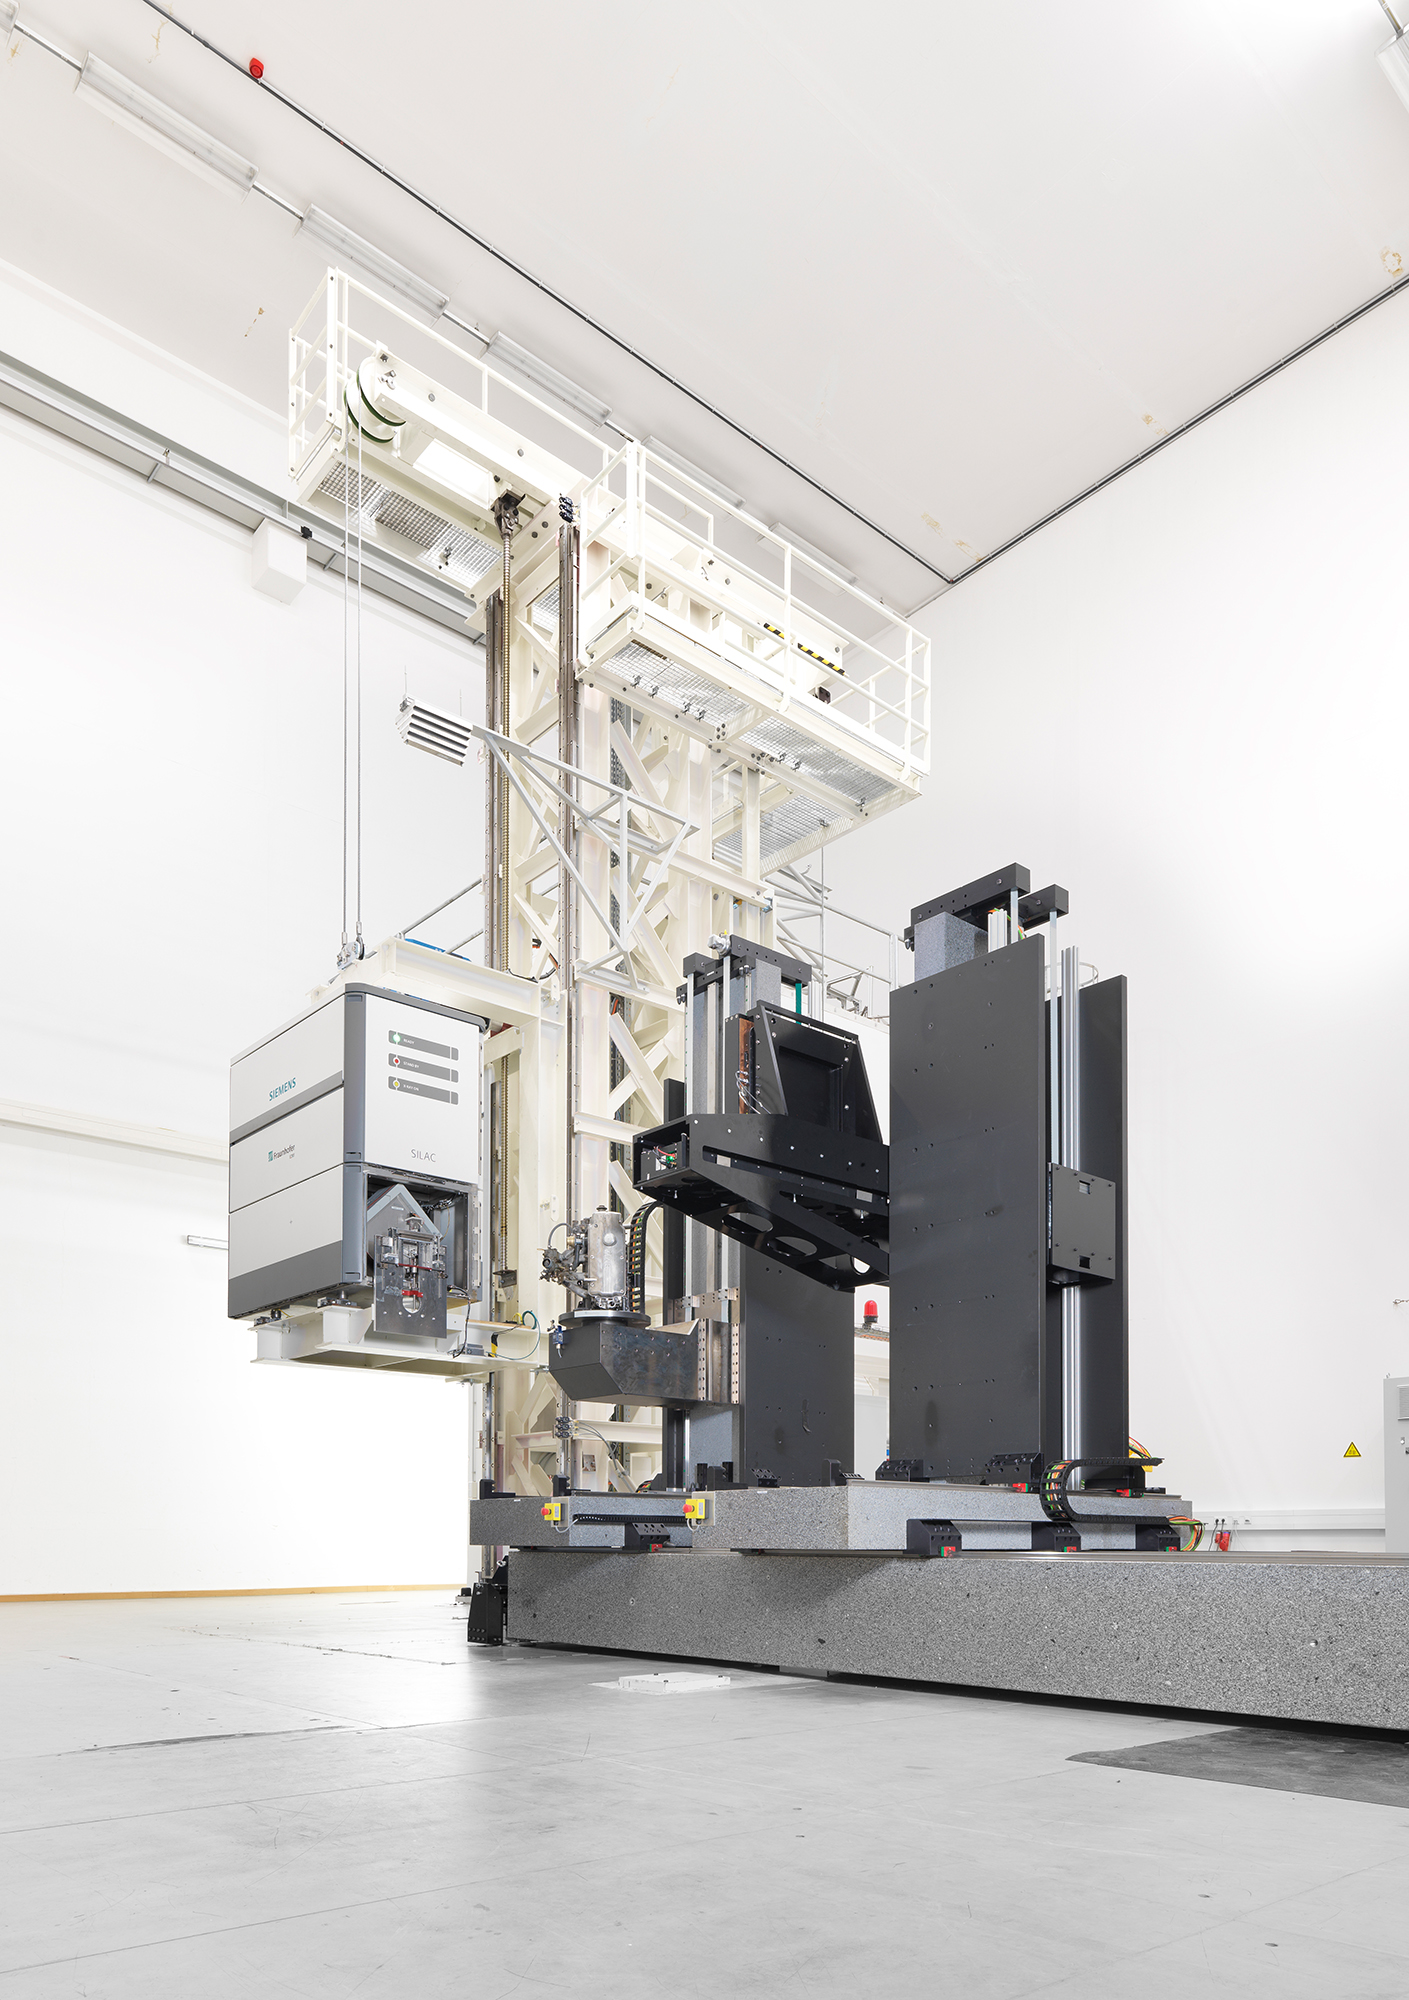
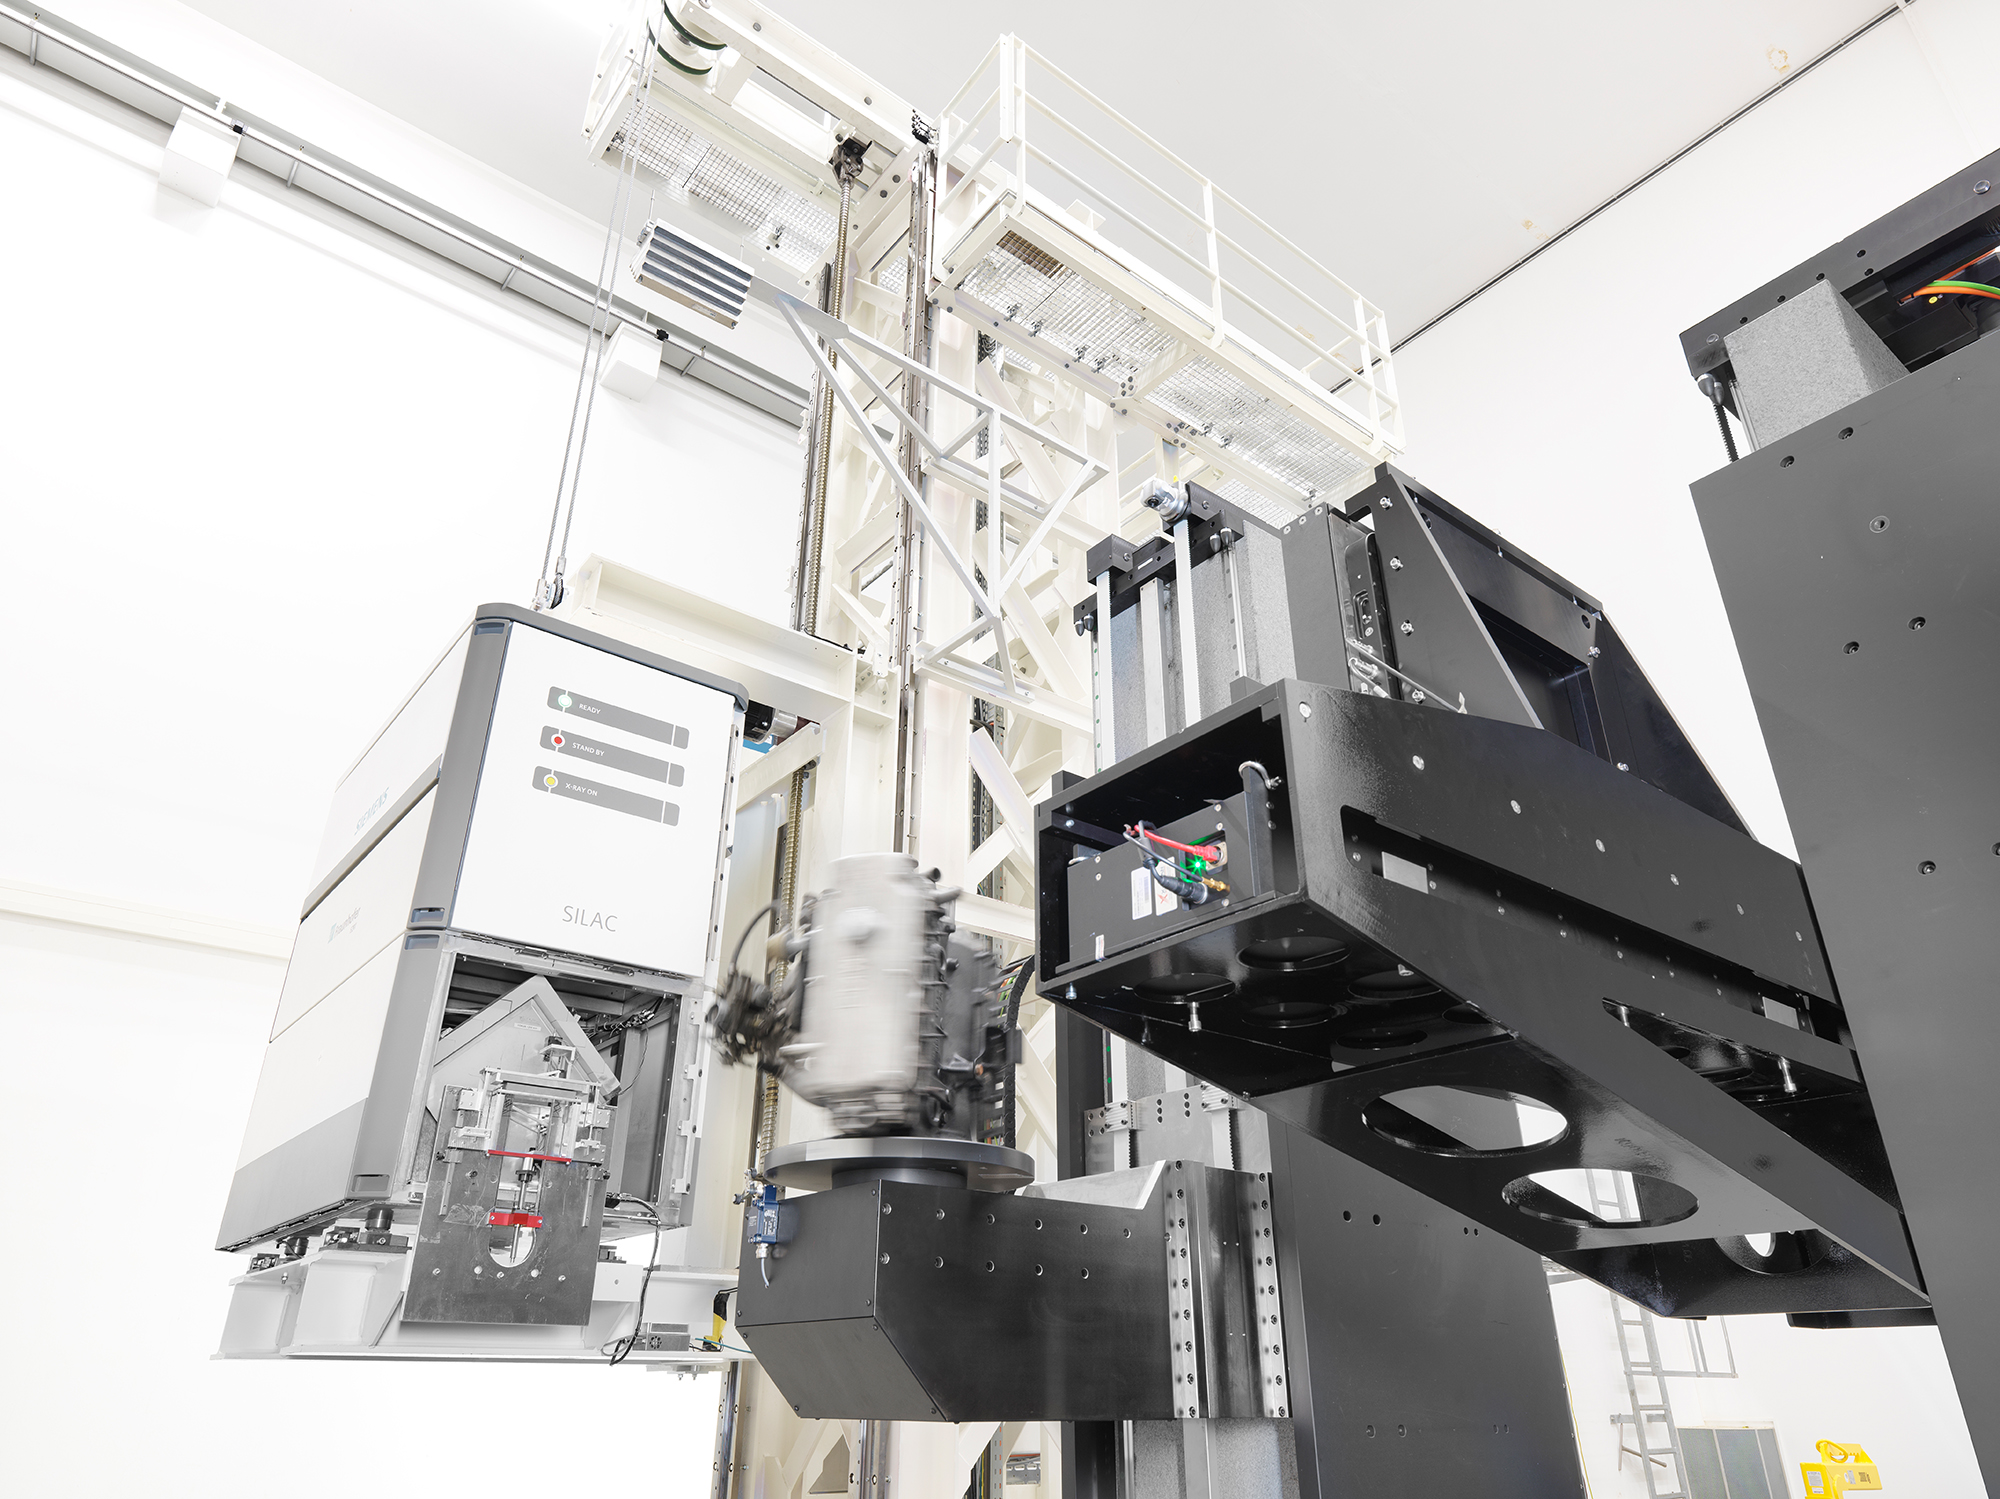
The XXL-CT system essentially consists of a linear accelerator, a precise turntable and a four-meter-wide line detector.
A linear accelerator acts as an X-ray source for the generation of X-rays. This enables even very large or dense test objects to be examined.
The four meter wide line detector captures the residual radiation that passes the test object.
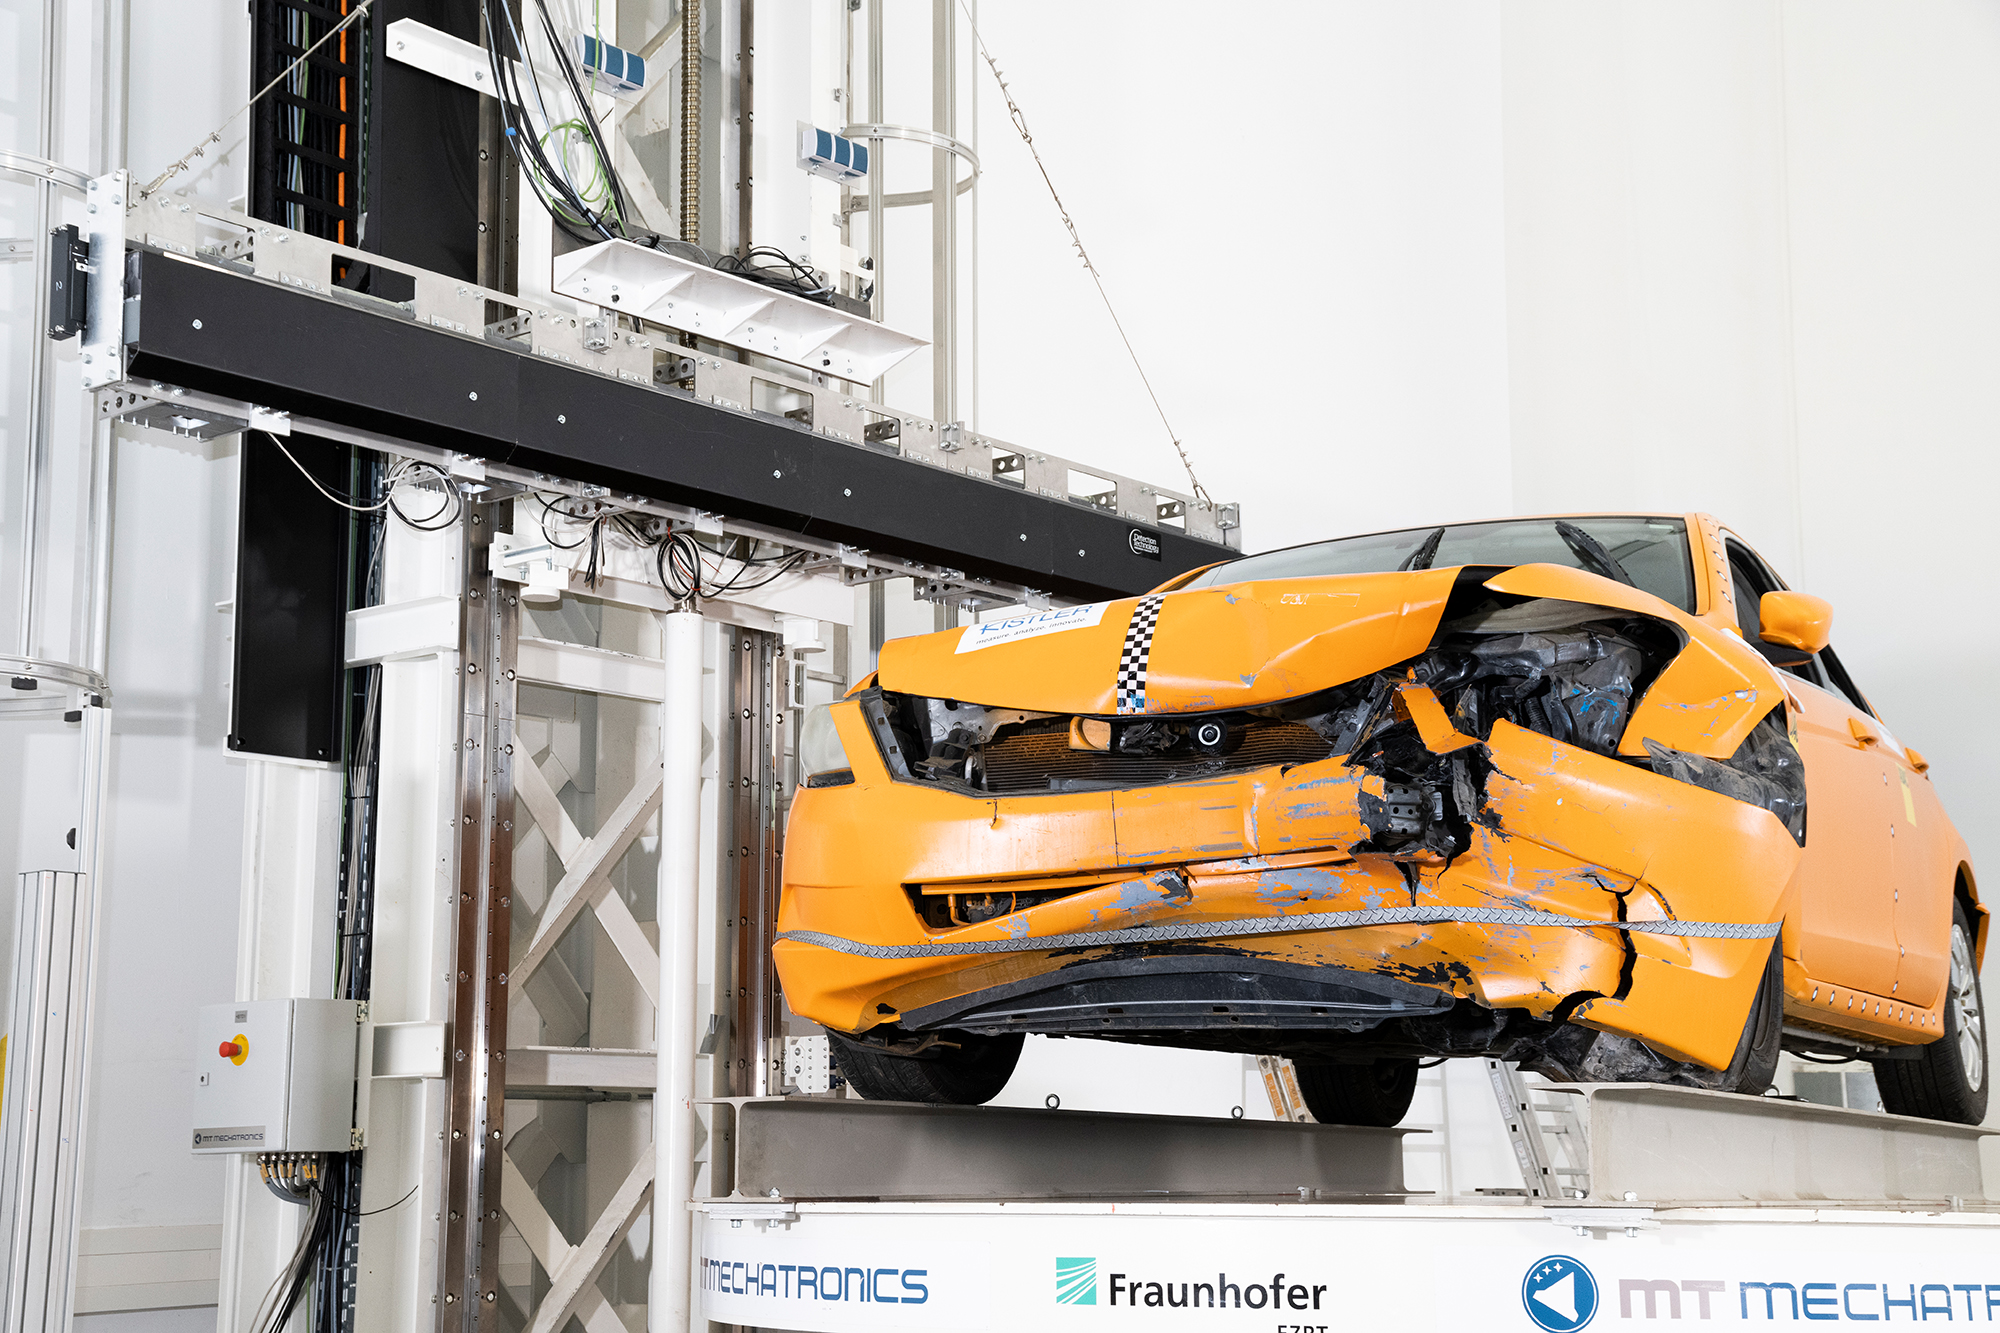
With a diameter of 3 meters, the turntable of the XXL-CT system offers enough space for huge objects such as vehicles.

Characteristics of the XXL-CT system

The functional principle of the XXL-CT is based on the line-by- line scanning of the object from multiple viewing angles.

For this purpose, the object is placed on a heavy-duty turntable and analyzed layer by layer using an X-ray beam projected between the radiation source and the detector. Process control and post-processing specially developed for handling the complex technology enables the measurements to be carried out particularly efficiently. These measurements often take several 100 hours and result in terabytes of measurement data. Together with optimized system components, the XXL-CT forms a new industry standard for the analysis of large objects.

Application examples for XXL-CT

© Fraunhofer IIS
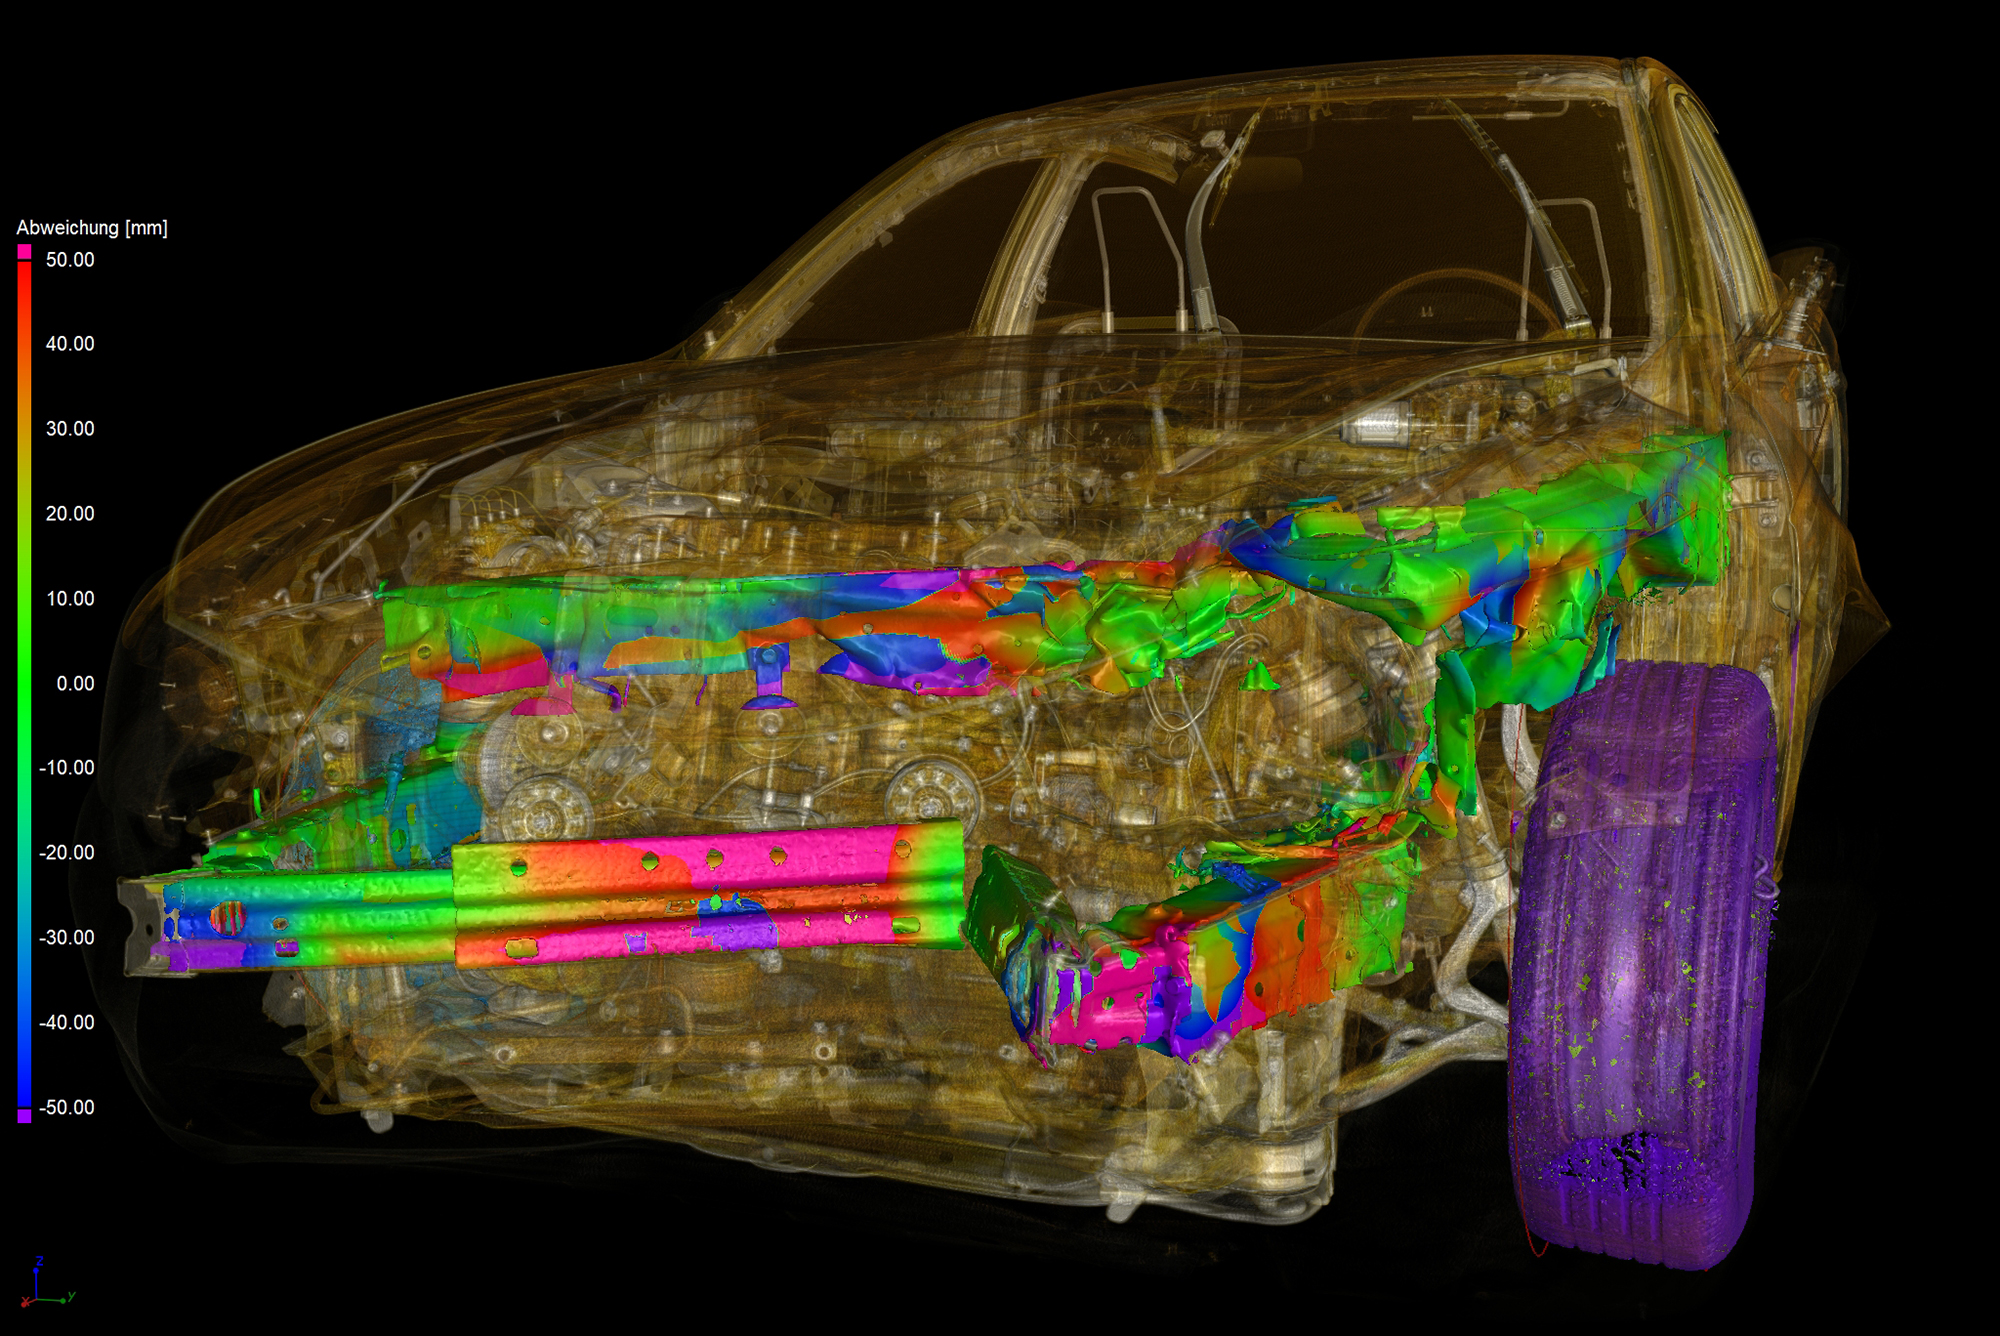
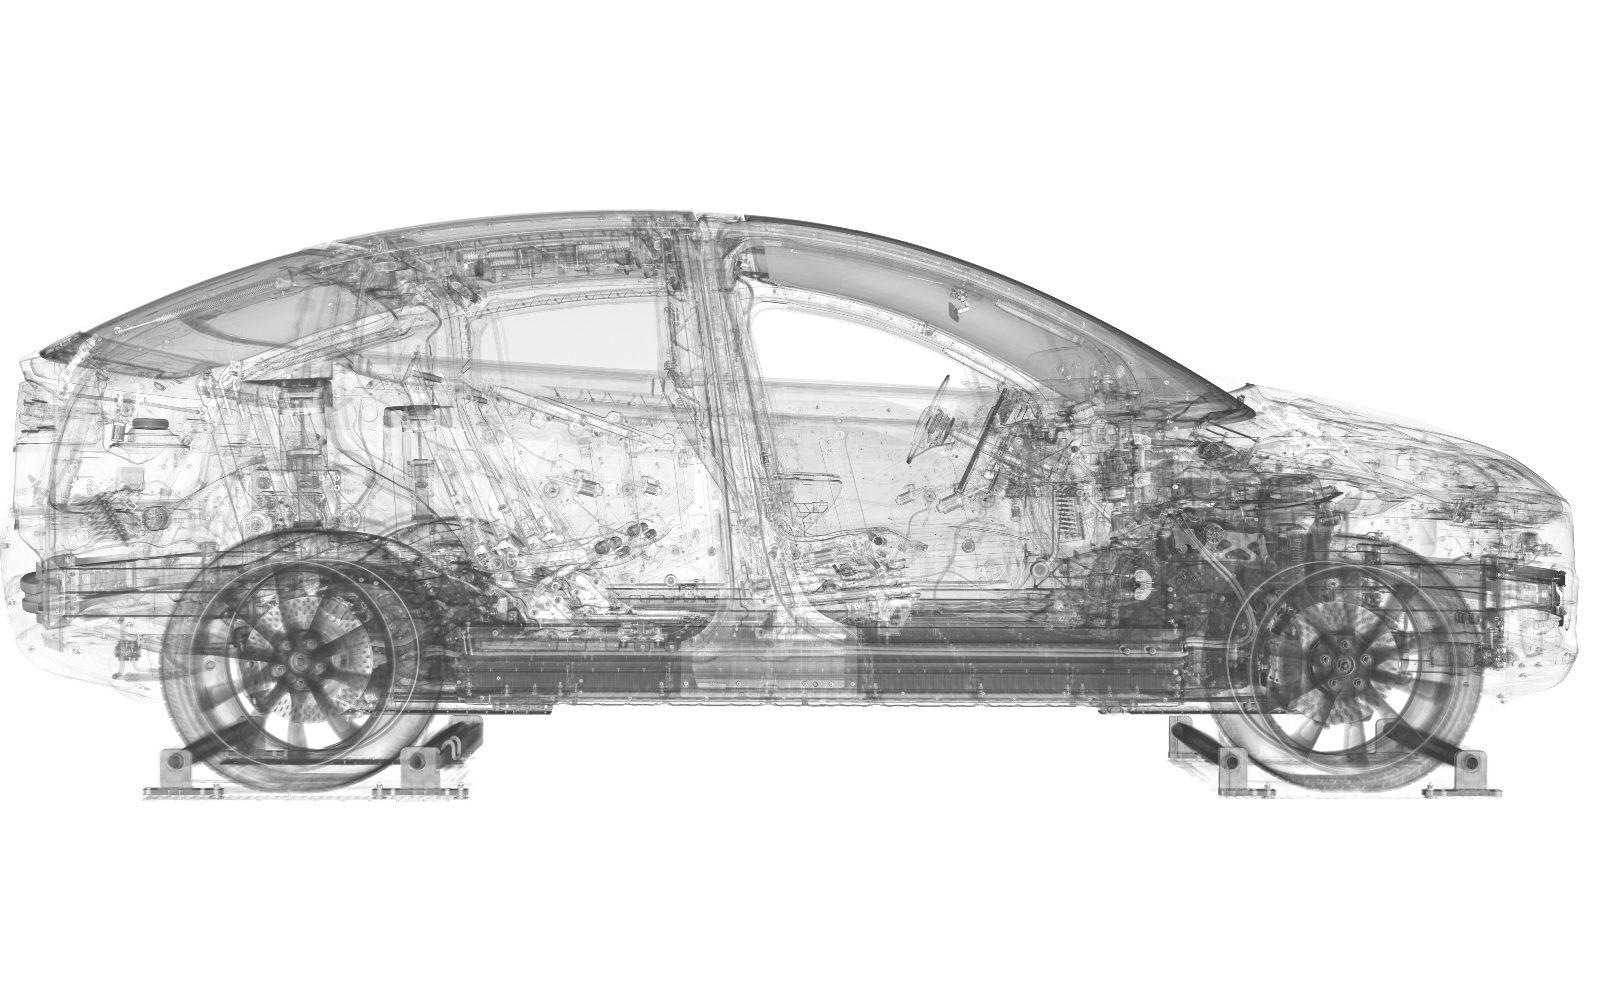
XXL computed tomography of a crashed vehicle with segmented components. The different colors visualize the deviation from the crash simulation.
© Fraunhofer IIS/ Naturalis Biodiversity Center
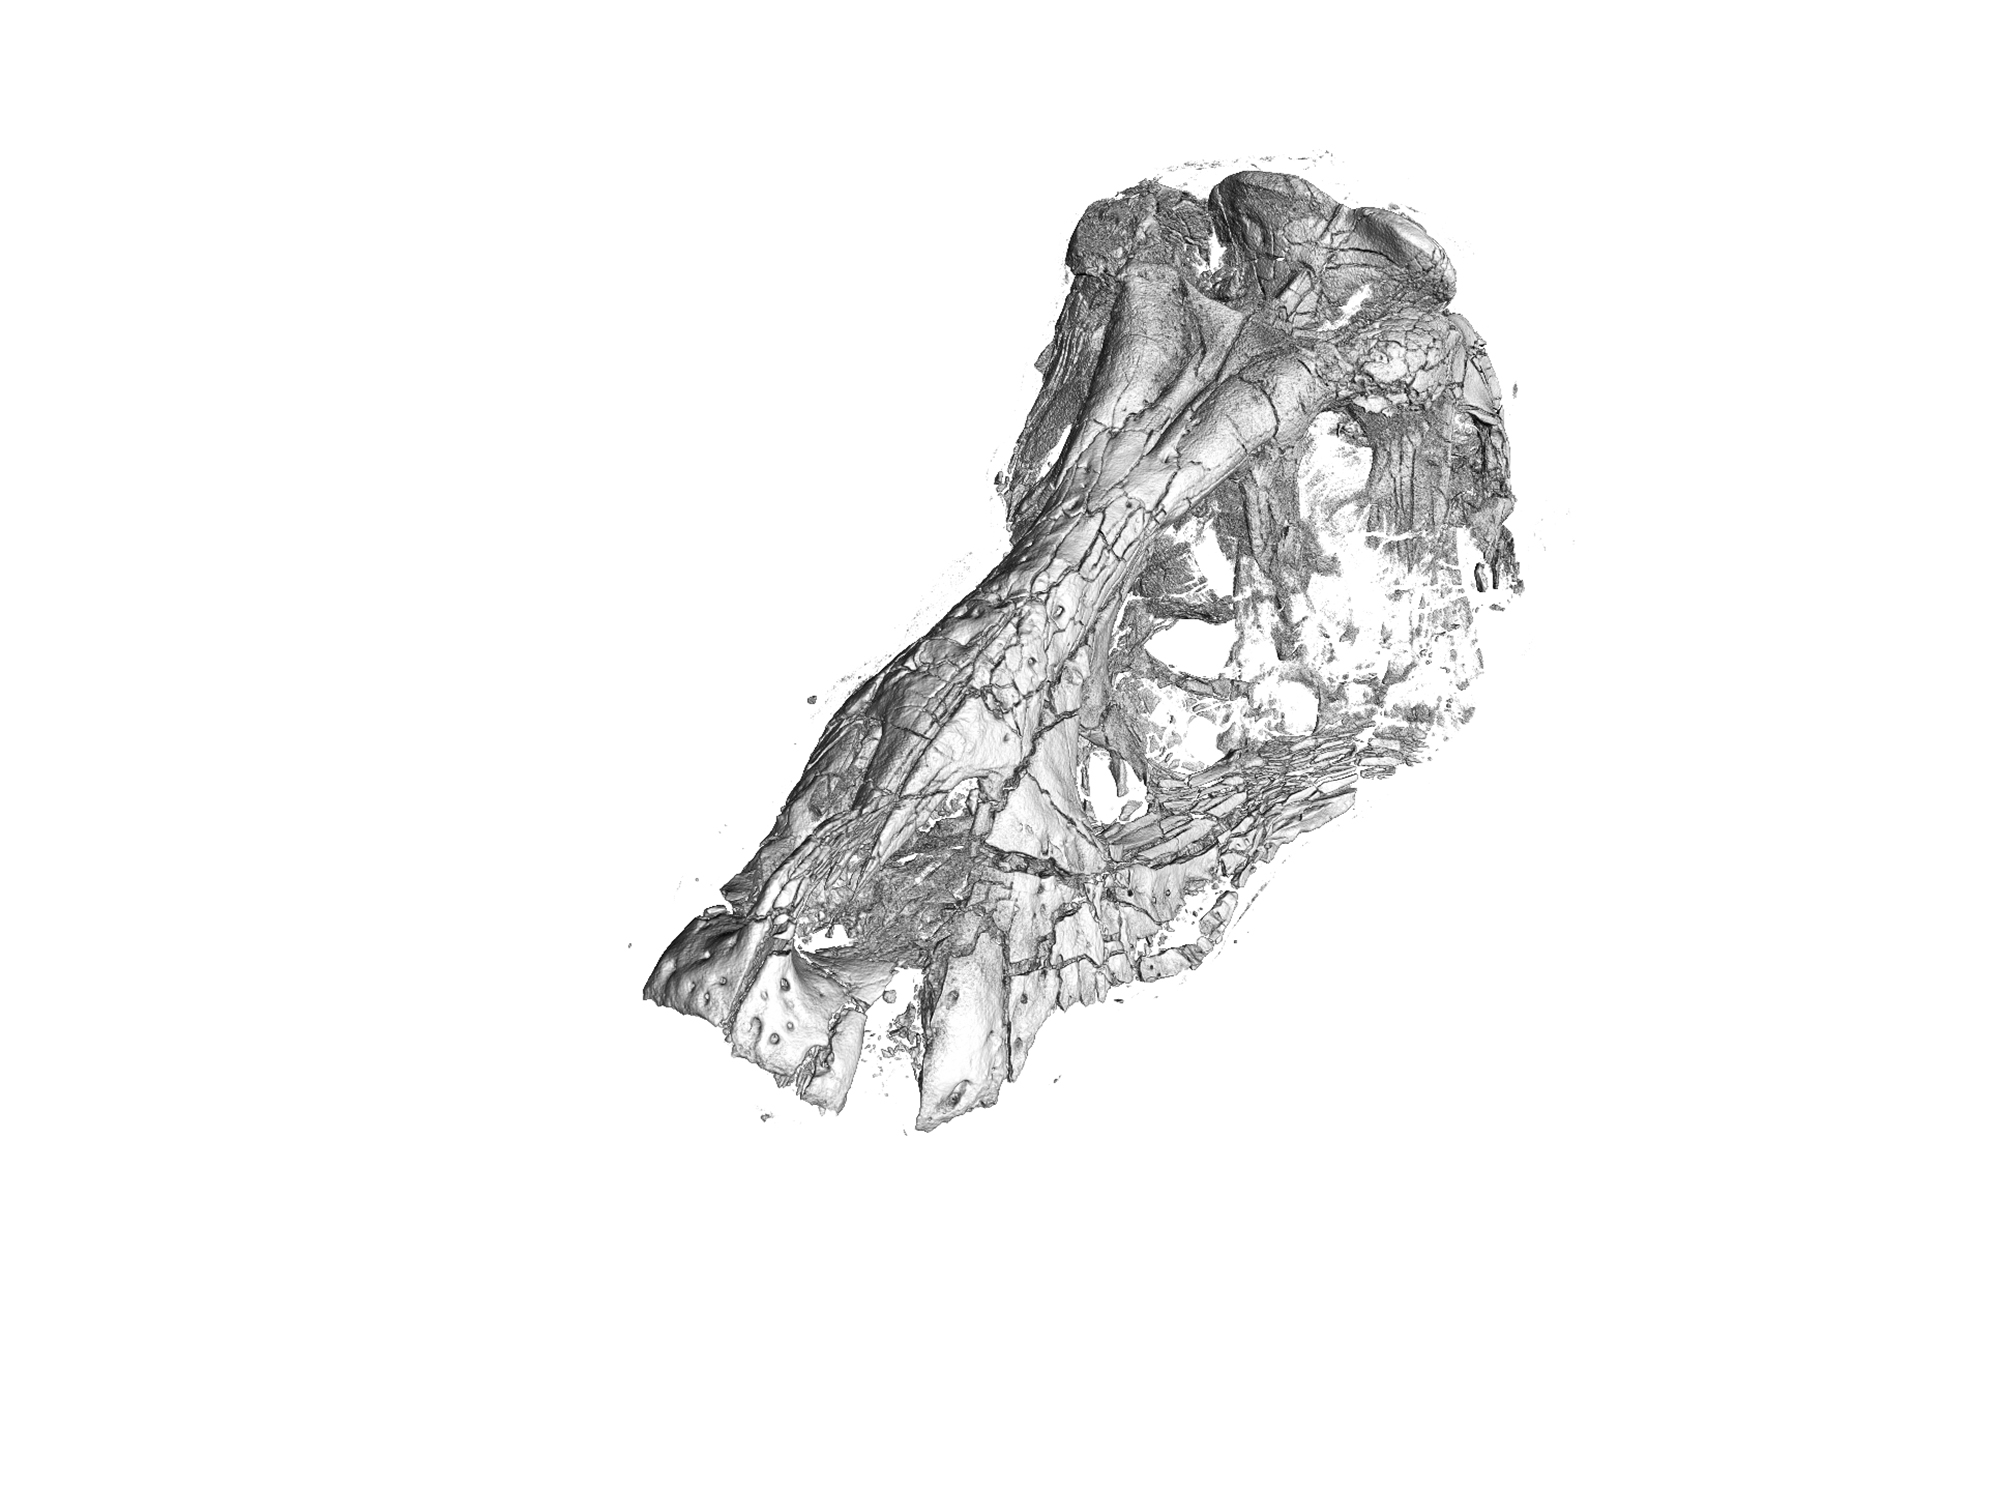
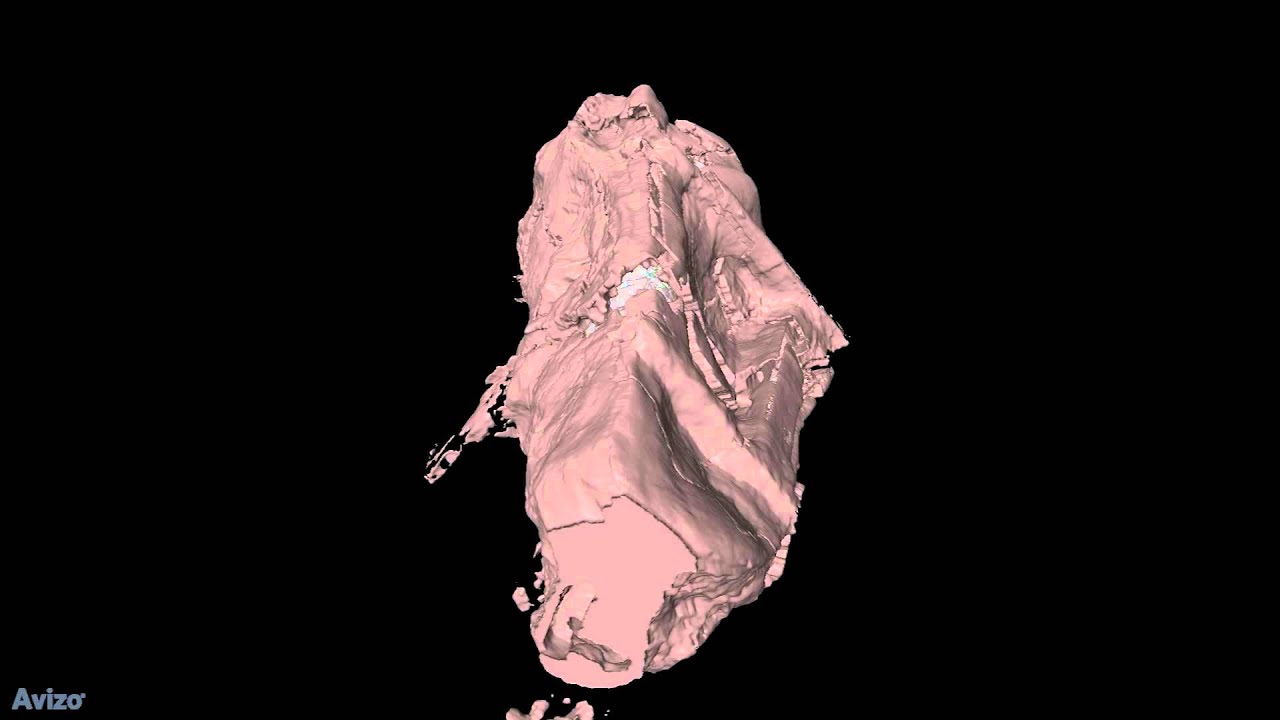
XXL-CT of a T. Rex skull
  • Defect detection and segmentation:
    • Individual image processing for the acquisition of quantitative measurements in 2D and 3D (defect detection, segmentation)
  • Defect analysis:
    • Blowholes, pores, cracks or delaminations down to a size of approx. 0.2 mm
  • Geometry analysis:
    • Nominal / actual variance analysis with reference CAD data Reverse engineering to replicate CAD data
  • Material analysis:
    • Fibre distribution, porosity and density
  • Quality and assembly control:
    • Correctness and completeness of the assembly of components, cable layers or (welding / adhesive / plug-in) connections, course of seals
  • Crash analysis:
    • Deformation analysis, comparison with simulation models
  • Security analysis:
    • Foreign objects, illegal or dangerous goods
  • Cultural heritage:
    • Digitization / archiving for museum didactics and reconstruction of the original object state

Privacy warning

With the click on the play button an external video from www.youtube.com is loaded and started. Your data is possible transferred and stored to third party. Do not start the video if you disagree. Find more about the youtube privacy statement under the following link: https://policies.google.com/privacy

Characteristics of the HE-CT system

© WE! shoot it
The high-precision manipulation system of the high-energy system houses two different detectors as well as an object axis that can be moved two meters.

CT measurments in cone beam geometry for high absorbing and compact objects, e.g. 3D printed parts made of heavy-duty alloys.

Thanks to the system arrangement optimized for compact objects, it is possible to significantly reduce the measuring time. The high-precision manipulation system houses two different detectors and an object axis that can be moved
two meters in height. By using the so-called helical scanning method, even objects with 4 meters in height and a diameter of up to 1 meter can be analyzed as a whole, quickly and precisely. The relatively short scan time of the measurement is enabled by the use of flat-panel detectors, which record a two-dimensional section of the object instead of having to record it in single lines. Generally, the use of flat-panel detectors does not only bring advantages: The interference signals that arise in the reconstructed 3D volume due to the measurement geometry (artifacts), require compensation that is carried out using specially developed algorithms and thus lead to an optimal image quality of the CT data.

© WE! shoot it
The high-energy system is particularly suitable for compact objects that consist of high-density materials, which are difficult to radiate through.