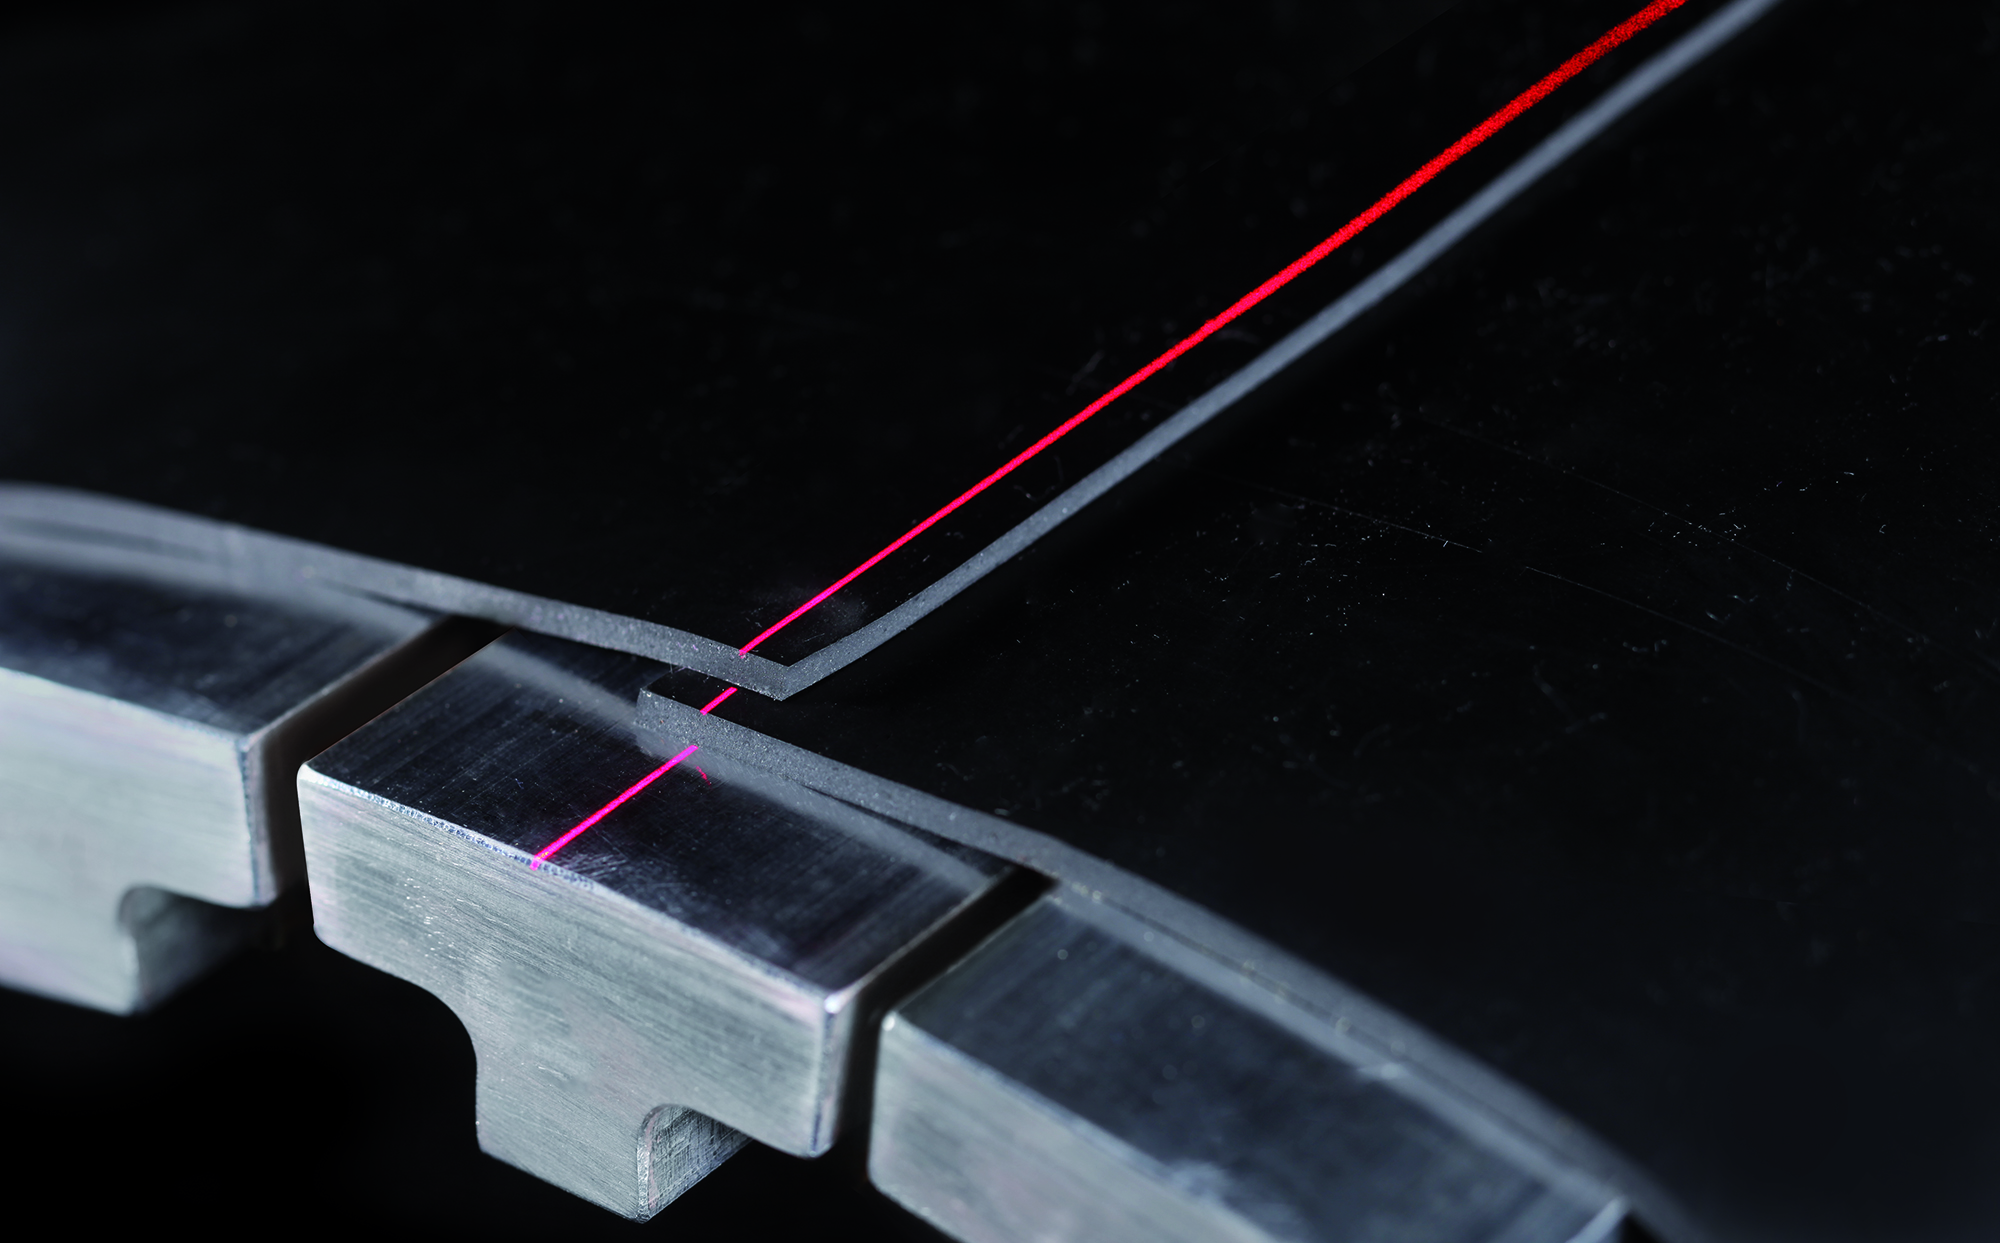
In tire manufacturing different material layers are rolled up onto a drum, thus the tire is built up layer by layer. For tire quality and safety it is necessary for the start and end of each layer to have a defined overlap.
Up to now, for the determination of this overlap, systems capable of acquiring only one track are employed. The Fraunhofer EZRT development SpliceChecker is applying light-sectioning techniques in order to inspect layer setup along the entire width and circumference for the first time. As a result of this measurement not only the overlap is determined but also a possible lateral offset of the layer with regards to its desired position. Optionally, it can also be determined, whether the layer has been deposited at all or if a material with incorrect width or thickness was used. Also production flaws like folded corners (“dog-ears”) or foldings can be detected.
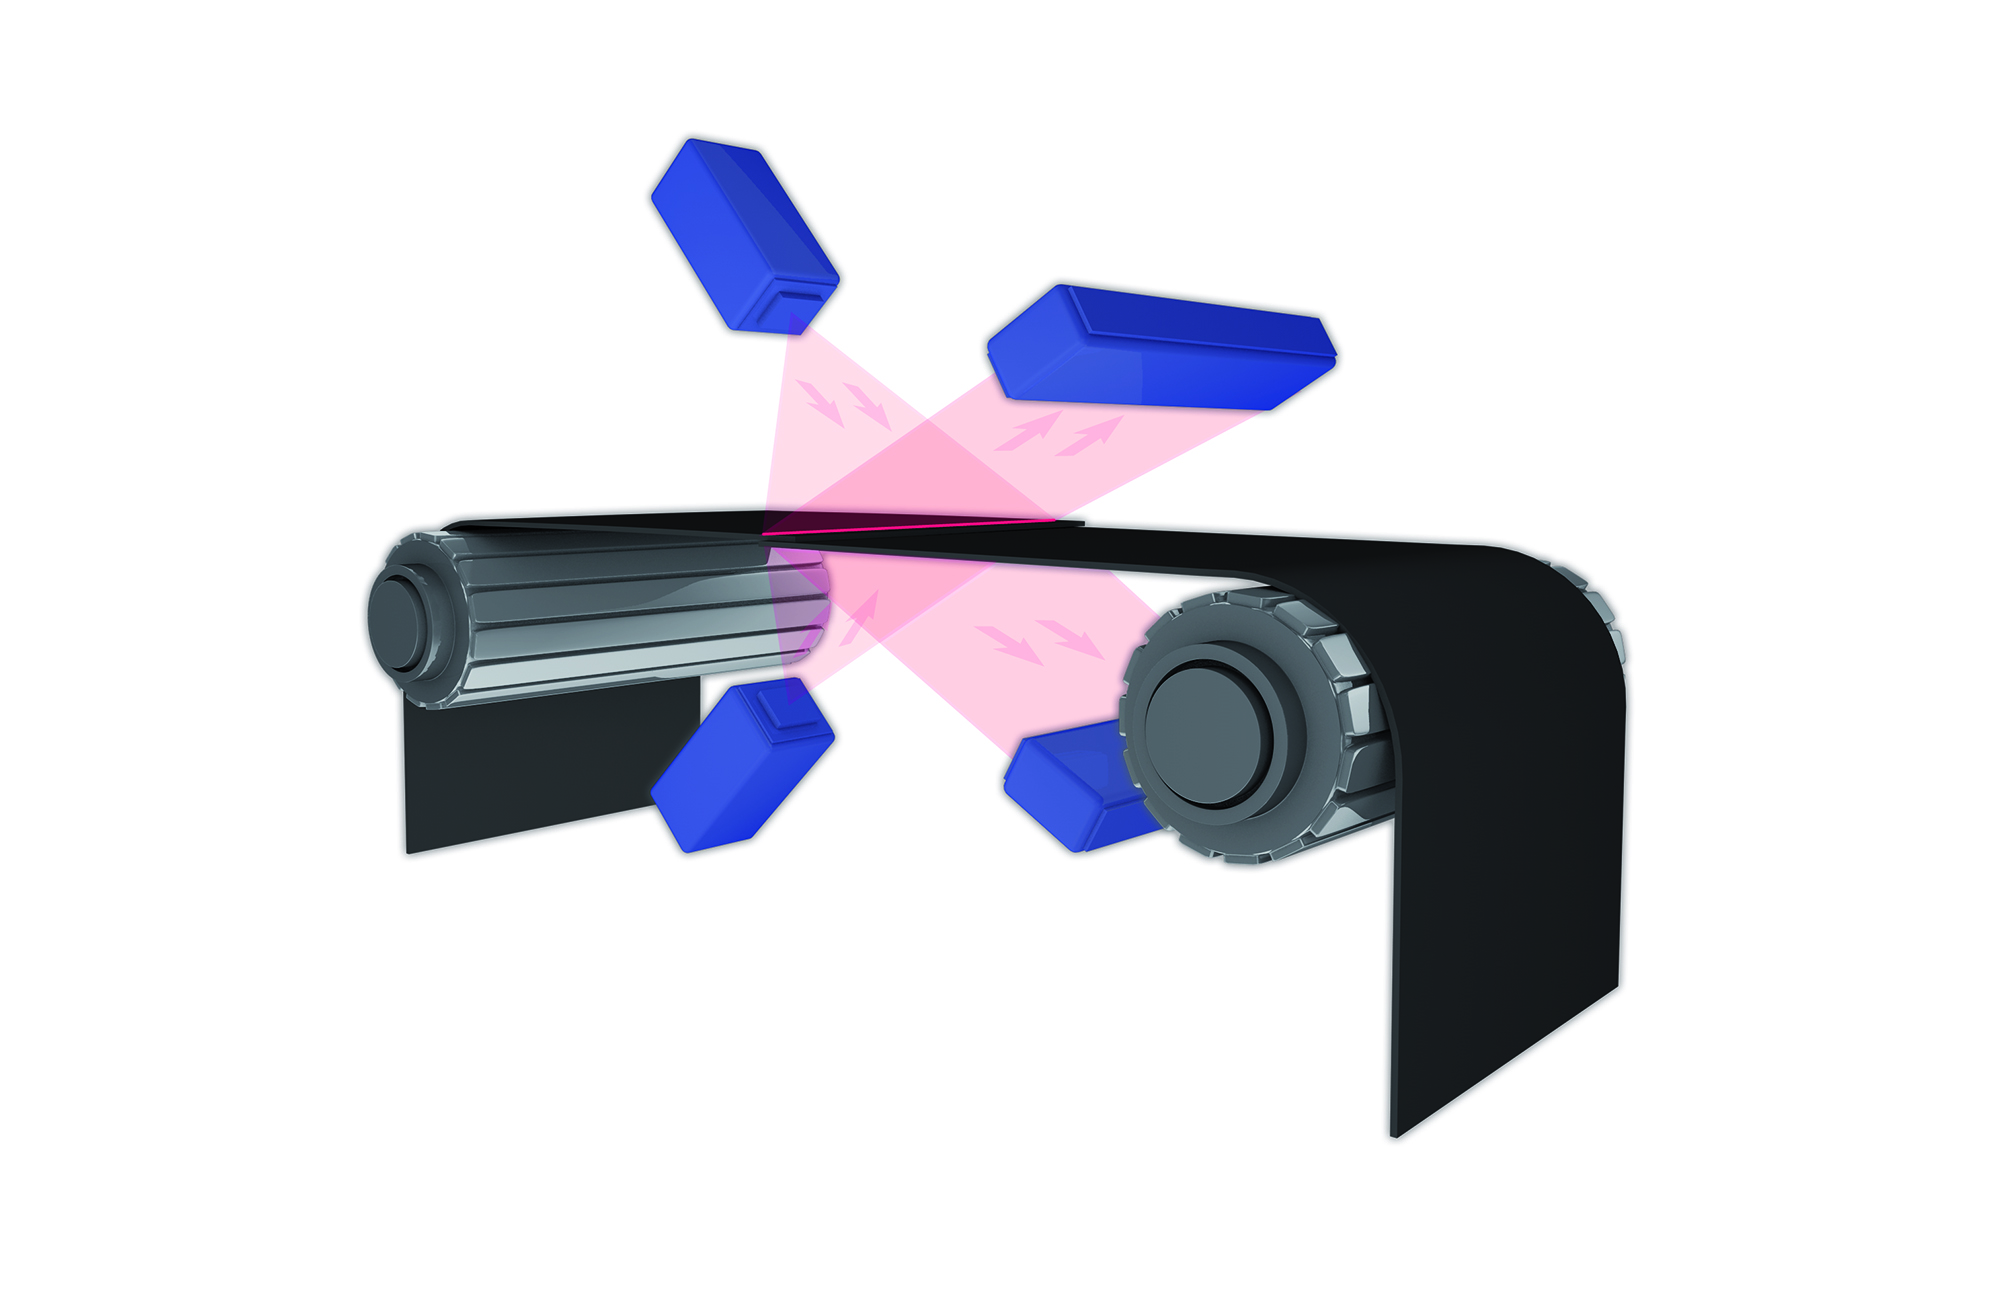
In light-sectioning a light-section is projected diagonally towards material layer onto the drum and monitored by a specialized camera under an angle from the projection direction. From the course of the light section a height profile is generated. During tire buildup up to 8000 height profiles of the material layer are recorded. This enables tire buildup inspection even at layer deposition velocities of 120 m/min.
Tailor-made solutions
The current SpliceChecker systems are acquiring the layer buildup on a width of 400 mm or 700 mm resp. Under development is a modular system capable of acquiring a layer width of up to 1000 mm with just one camera. Measurement speed and resolution are adapted to the individual requirements of our customers. By coupling with existing machine controls an integration into existing manufacturing systems is possible.
Performance features
- Data acquisition during layer buildup
- Suitable for all material layers (Innerliner, Ply, Breaker, etc.)
- Usually no additional cycle time required
- Measurement of the entire material layer
- Precise determination of splice (overlap/open) throughout the entire width
- Determination of material width and offset throughout the entire winding
- Customer specific evaluation possible
- No reference data acquisition necessary
- Can be flexibly adapted to various tire systems
- Offline evaluation of saved data possible

