To date, the high costs resulting from long measurement times have been the chief impediment to the use of 3D computed tomography (CT) for inspections in the manufacturing process. In addition, there was no reliable software available for automatic evaluation. Fraunhofer EZRT is addressing this deficit with new developments, such as highly efficient algorithms for artifact correction, volume calculation and image analysis. These innovations now permit the fully automated inspection of an object within very short cycle times.
Inline CT system for large components
Characteristics of the system


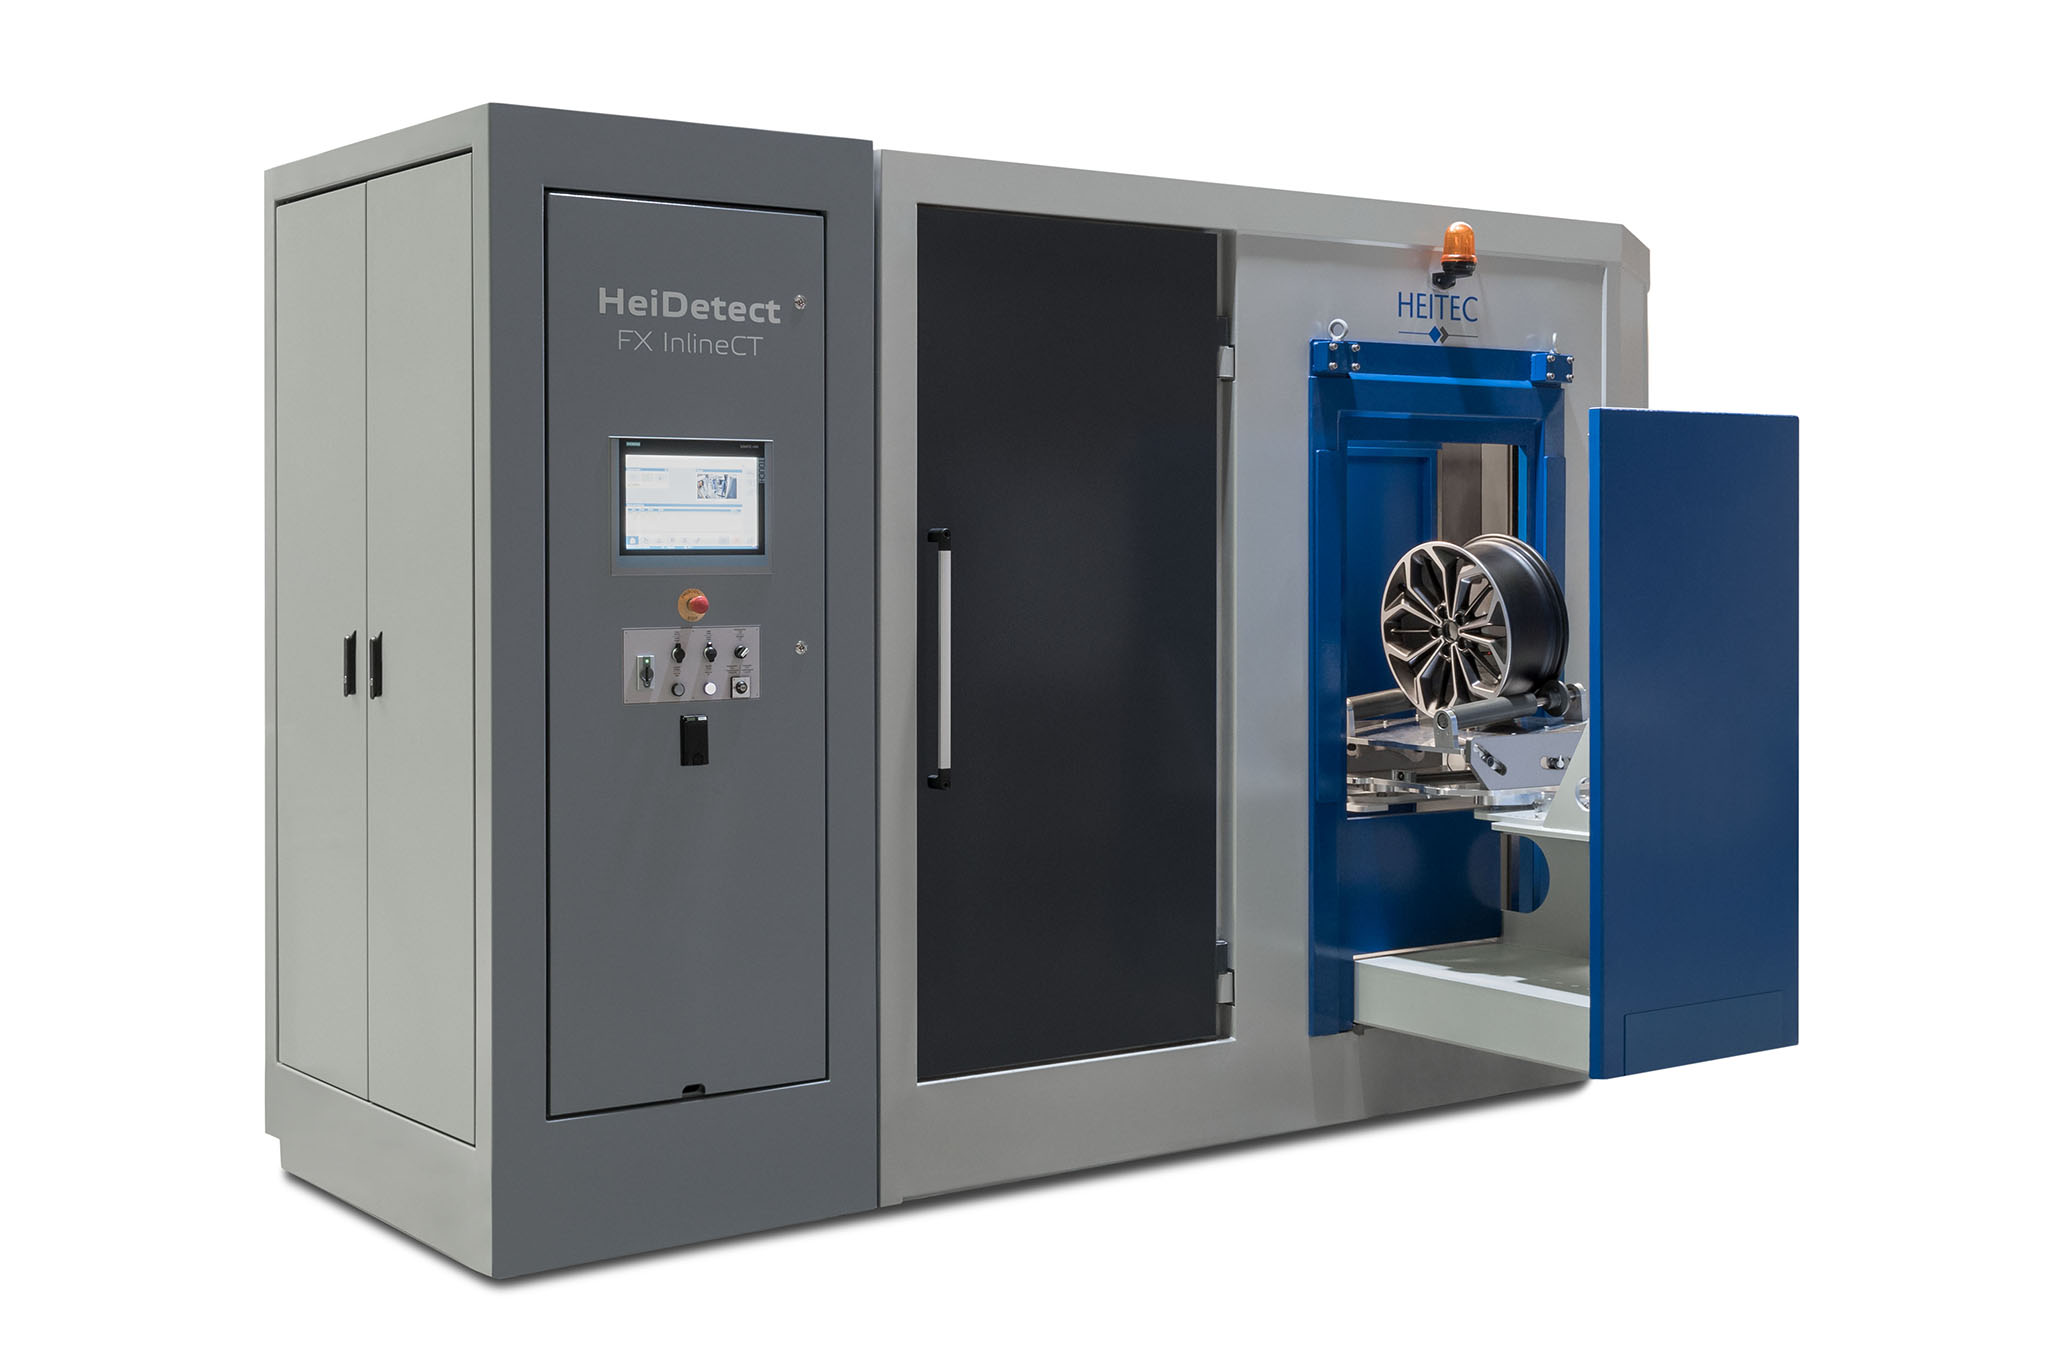
At the Fraunhofer location in Deggendorf, Germany, scientists have developed a state-of-the-art inline CT system in cooperation with HEITEC PTS. The system has unique properties and allows inline CT to be used for monitoring many new component classes:
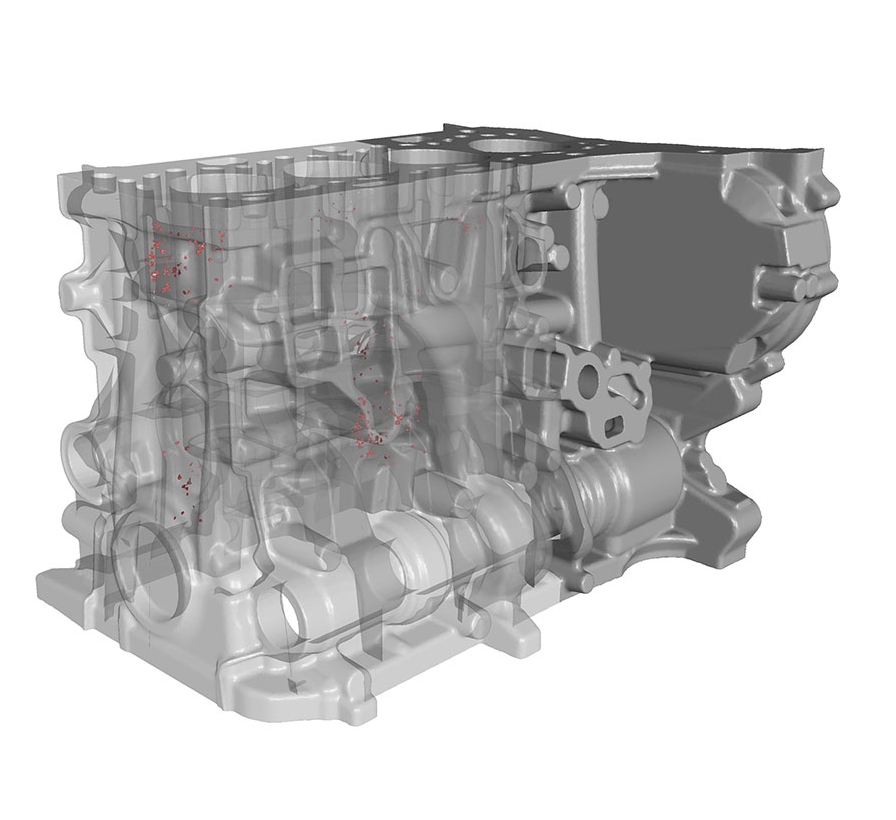
- Power of X-ray source: Because the X-ray source built into the inline CT system possesses an accelerating voltage of 450 kV, it is possible to quickly and reliably scan even large objects such as cylinder heads and crankcases.
- Fully automated defect recognition with 3D-ADR: The CT allows users to pinpoint the exact position of irregularities in the object being inspected and their shape. In contrast to other techniques, our automatic defect recognition for 3D data (3D-ADR) notably also detects irregularities on and near the surface and is particularly resistant to pseudo-detections caused by artifacts. The advantage of a 3D analysis is that it is able to properly identify defects in places that will be subsequently removed at the rework stage and also smaller irregularities that impair neither stability nor functionality; as a result, the object is not immediately considered scrap. In other words, the software reliably diagnoses only critical defects. In addition, the shape and position of geometrical structures can be measured in the 3D data set, even when they cannot be accessed by tactile systems, such as coolant ducts.
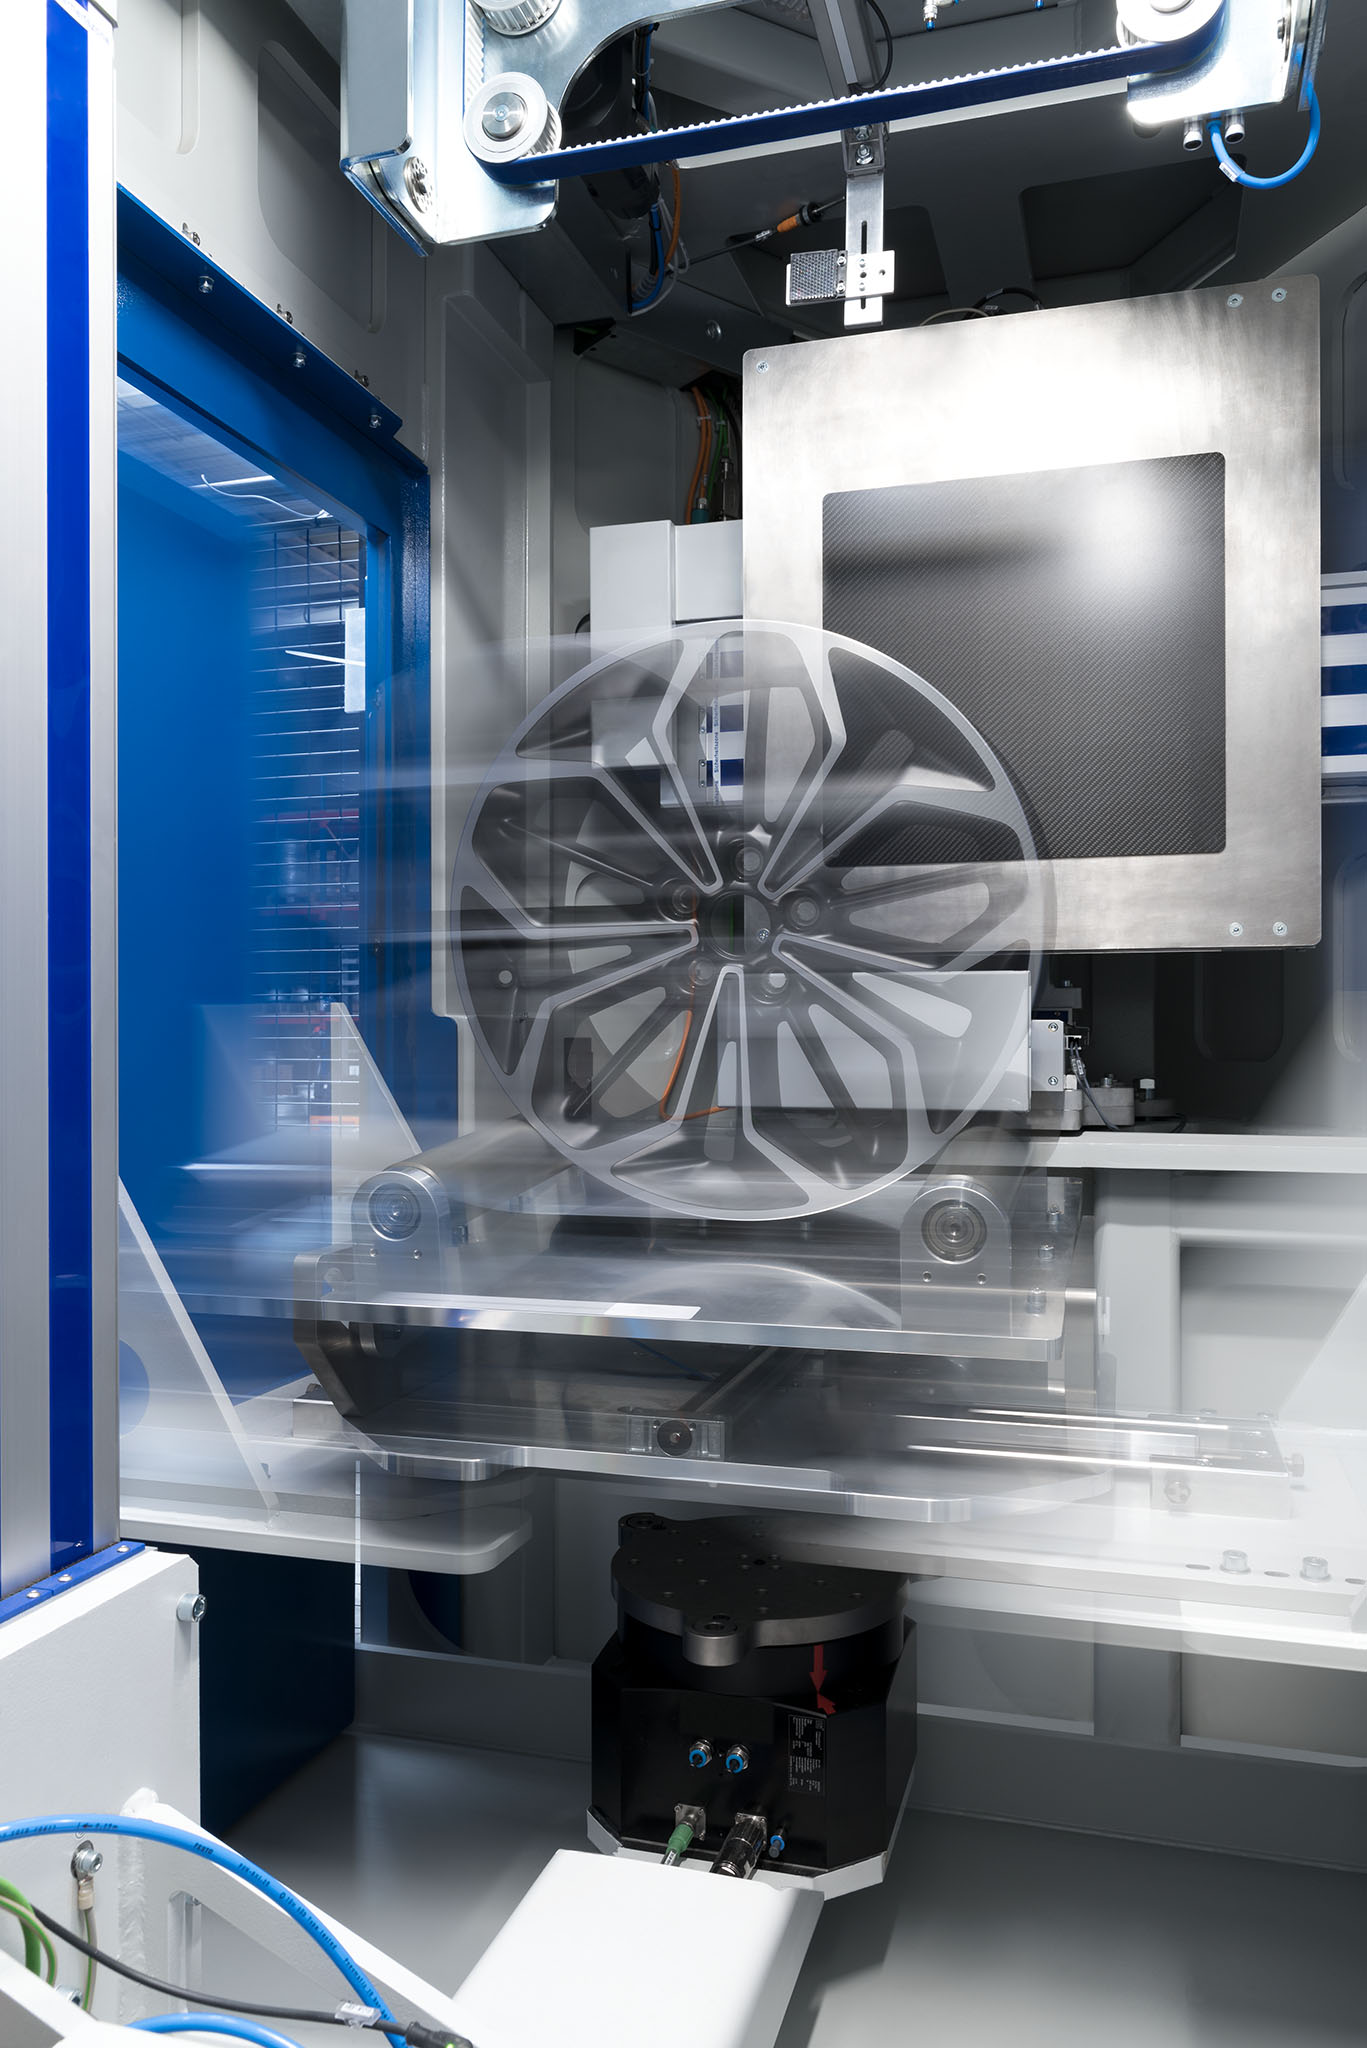
- Automation concept: The inline CT system possesses a novel automation concept that works quickly, reliably and safely. It uses a shuttle system that permits the loading and unloading of one component while another is being scanned in order to minimize non-productive time and thus obtain the minimum possible scanning time. Furthermore, the developers used tried-and-true industrial X-ray components and deliberately eschewed the use of movable axes where possible, so as to facilitate 24/7 operation in foundry production environments.
Demonstrator system at Deggendorf location
With the inline CT system at the Deggendorf location, Fraunhofer researchers are able to carry out feasibility studies in short order and make the technology accessible to the industry. Moreover, the constant generation of realistic measurement data contributes to the further development of the underlying algorithms.
Project partners
Collaborating with the Fraunhofer Development Center for X-ray Technology EZRT on the project are German mechanical engineering firm HEITEC PTS GmbH and materials testing specialist BMB Gesellschaft für Materialprüfung.
