Location in Fürth

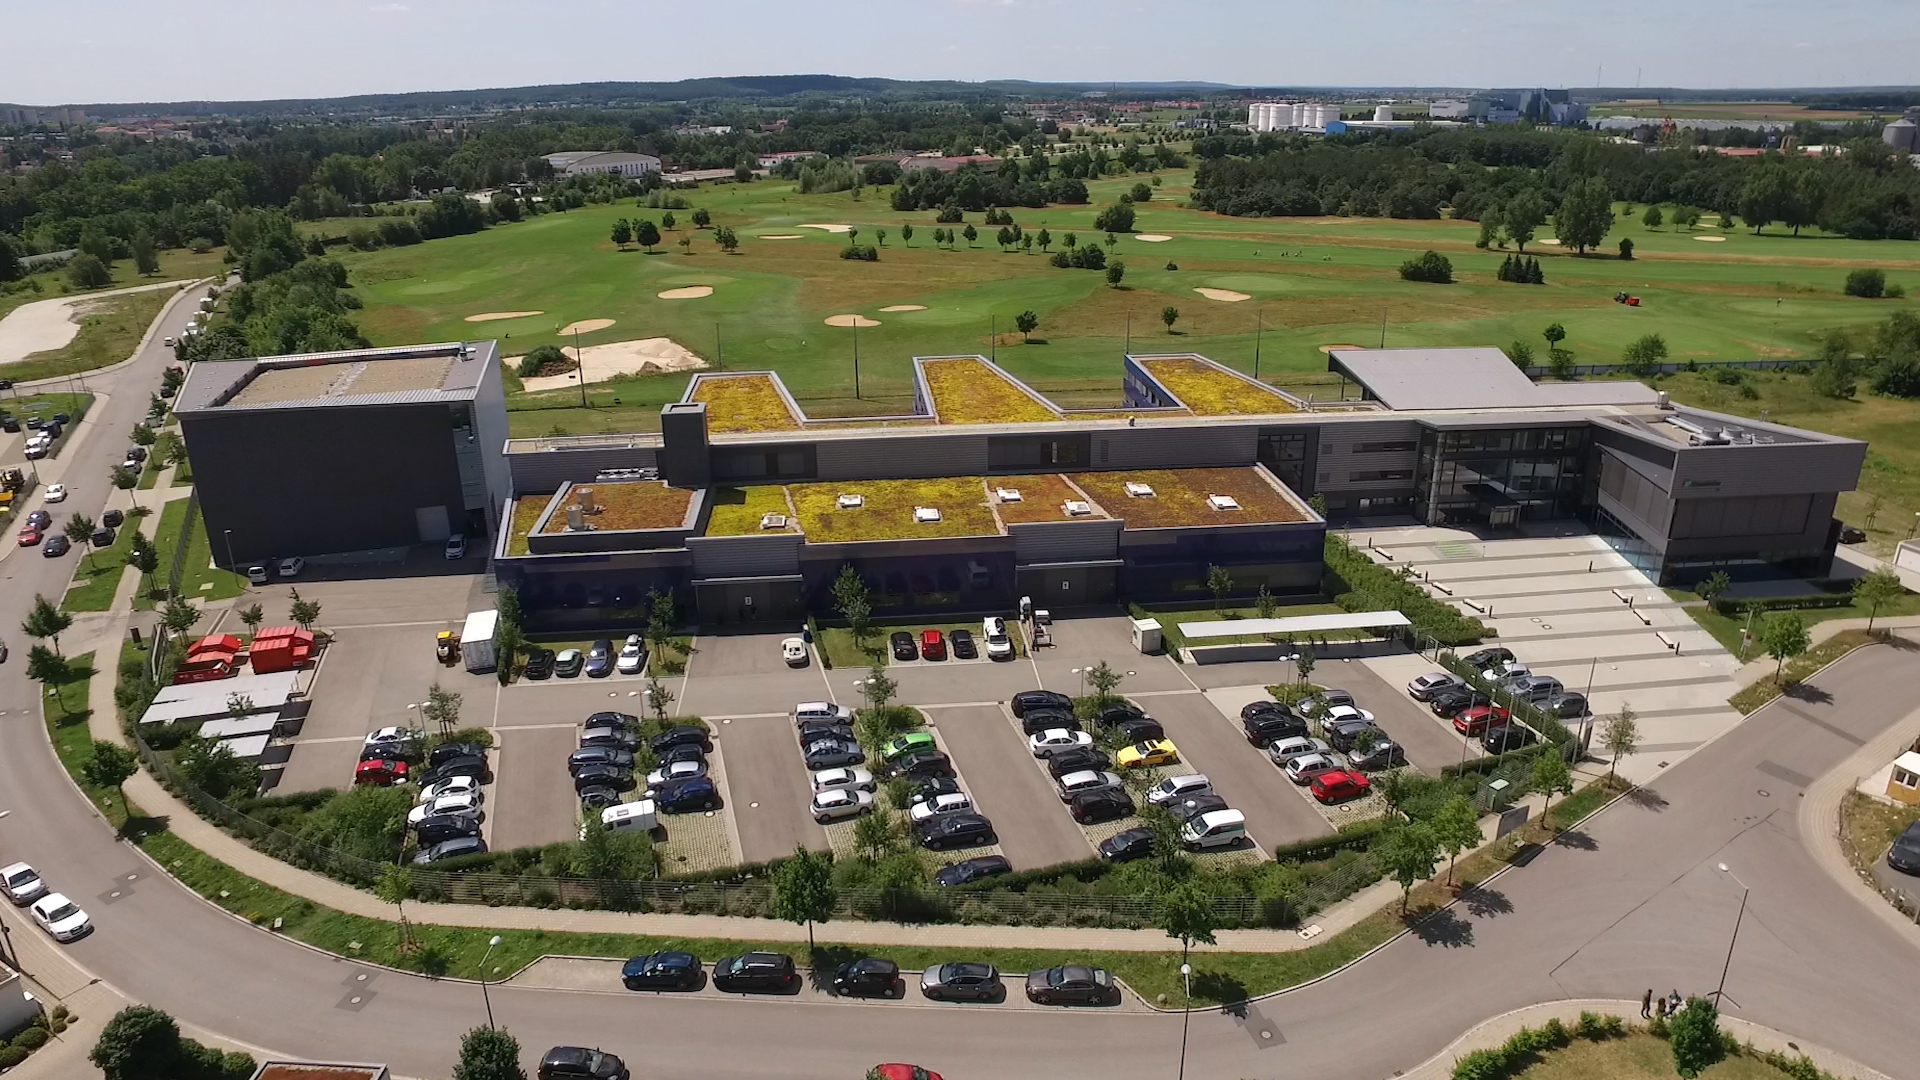
Fürth is where the Application-specific Methods and Systems, Production Monitoring and Contactless Test and Measurement Systems departments work closely together to carry out Fraunhofer EZRT’s research and development activities. With our unique expertise in the field of nondestructive testing, we can find the right solution for almost any problem.

In addition to excellent specialist knowledge, the Fürth office also has state-of-the-art technical equipment. Our researchers have access to numerous X-ray systems for various applications. Not only that, the Development Center X-ray Technology EZRT features Europe’s only test hall in which entire vehicles can be scanned.
Application-specific Methods and Systems

XXL-Computertomographie-Aufnahme eines ganzen Fahrzeugs
© Fraunhofer IIS
The XXL CT system at Fraunhofer EZRT can X-ray entire vehicles.

The Application-specific Methods and Systems department specializes in the product life cycle, developing solutions for the recycling, raw material and product development sectors. We therefore offer innovative and novel solutions for use in the international sorting market or recycling. We develop customized software for controlling computed tomography and sorting systems, thereby solving complex problems in these three sectors and others. Additional core areas of expertise include the phenotyping of underground plant structures and 4D porosity analyses for the food industry. The development and use of X-ray applications — utilizing high-energy X-ray sources and detectors — are also part of the department’s repertoire. The XXL CT system takes X-ray technology to the next level, applying it on a much larger scale. It has attracted a lot of interest in the automotive industry and safety technology sector, for example.

We offer innovative and, when necessary, unconventional solutions in the field of nondestructive monitoring.

Contactless Test and Measurement Systems

© Fraunhofer IIS
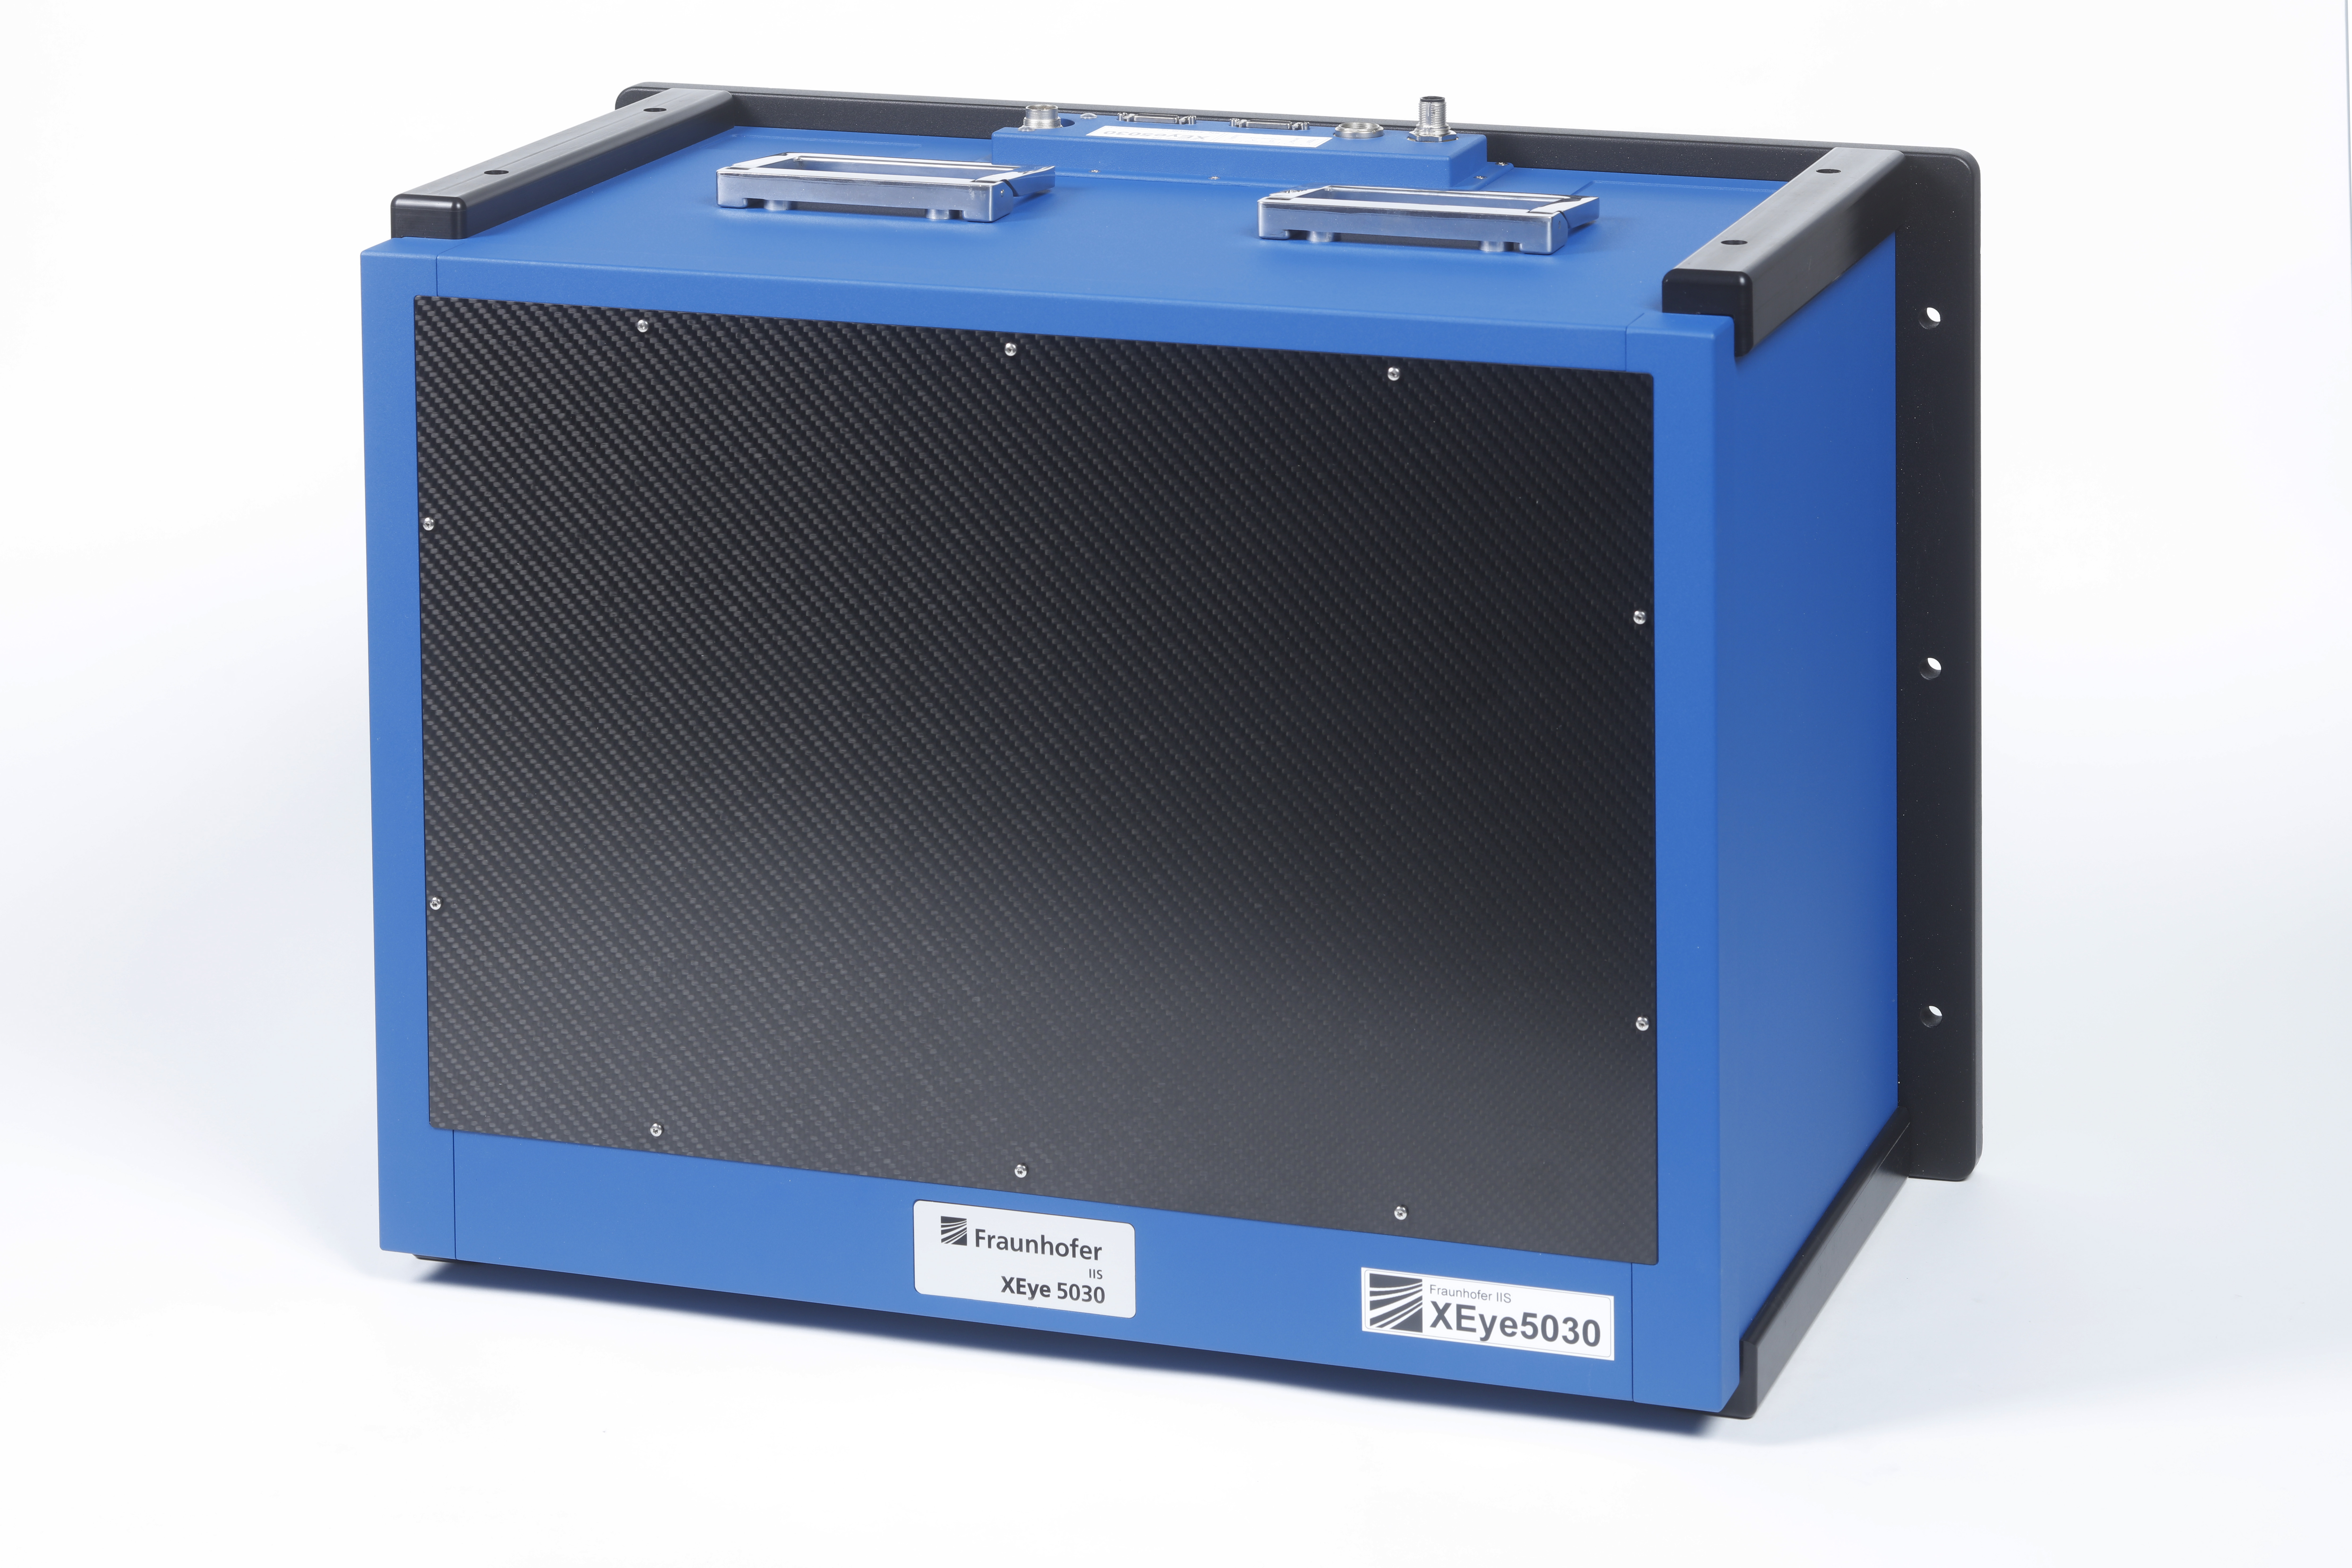
XEye 5030 zeichnet sich durch eine große Detektorfläche und gleichzeitig hohe Auflösung aus

The Contactless Test and Measurement Systems department specializes in optical measurement systems, with a focus on 3D measurement systems, and radiation-hard X-ray camera systems (these are also considered to be optical systems due to their functionality — optical imaging of a fluorescent screen on several CCD cameras). Our patented radiation protection allows for long periods of operation for consistent image quality and is a unique selling point of our X-ray camera systems.

  • Cracks and breaks in pipes and electrical lines 
  • Cracks and defects in seals
  • Surface inspection in tire production 
  • Foreign matter in food 
  • Optical measurement and reconstruction of plants

Production Monitoring

The Production Monitoring department develops systems software and concepts that detect deviations from optimum production processes at an early stage in order to minimize production rejects.

The department’s vision for the medium term is reject-free production.

Reject-free production means that anomalies never reach a scale that would affect the quality of the component or product. We achieve this by constantly monitoring the production process.

Reject-free production improves resource efficiency, which cuts costs. It increases capacity without using more energy or raw materials. This strengthens the competitiveness of our customers and protects the environment.

Services provided by the Production Monitoring department and its technologies:

Systems software and concepts for automatic inline inspection (automatic defect recognition — ADR) and production monitoring, for example for castings, using the following technologies:


  • 2D X-ray inspection
  • Computed tomography (inline CT)
  • Software solutions for optimal computed tomography (reconstruction module, artifact reduction and enhancement of image data)
  • Commissioned inspection methods and systems for production processes and their automation
  • Consulting and support for procuring systems and components
  • Licensing of expertise and software
  • Applications in service testing
Das System DRAGONFLY des Fraunhofer EZRT
© Fraunhofer IIS/ Gerhard Hagen
The DRAGONFLY X-ray technology is reducing the analysis time for castings by up to 50% compared to the previous stop-and-go inspection process.


Technical equipment

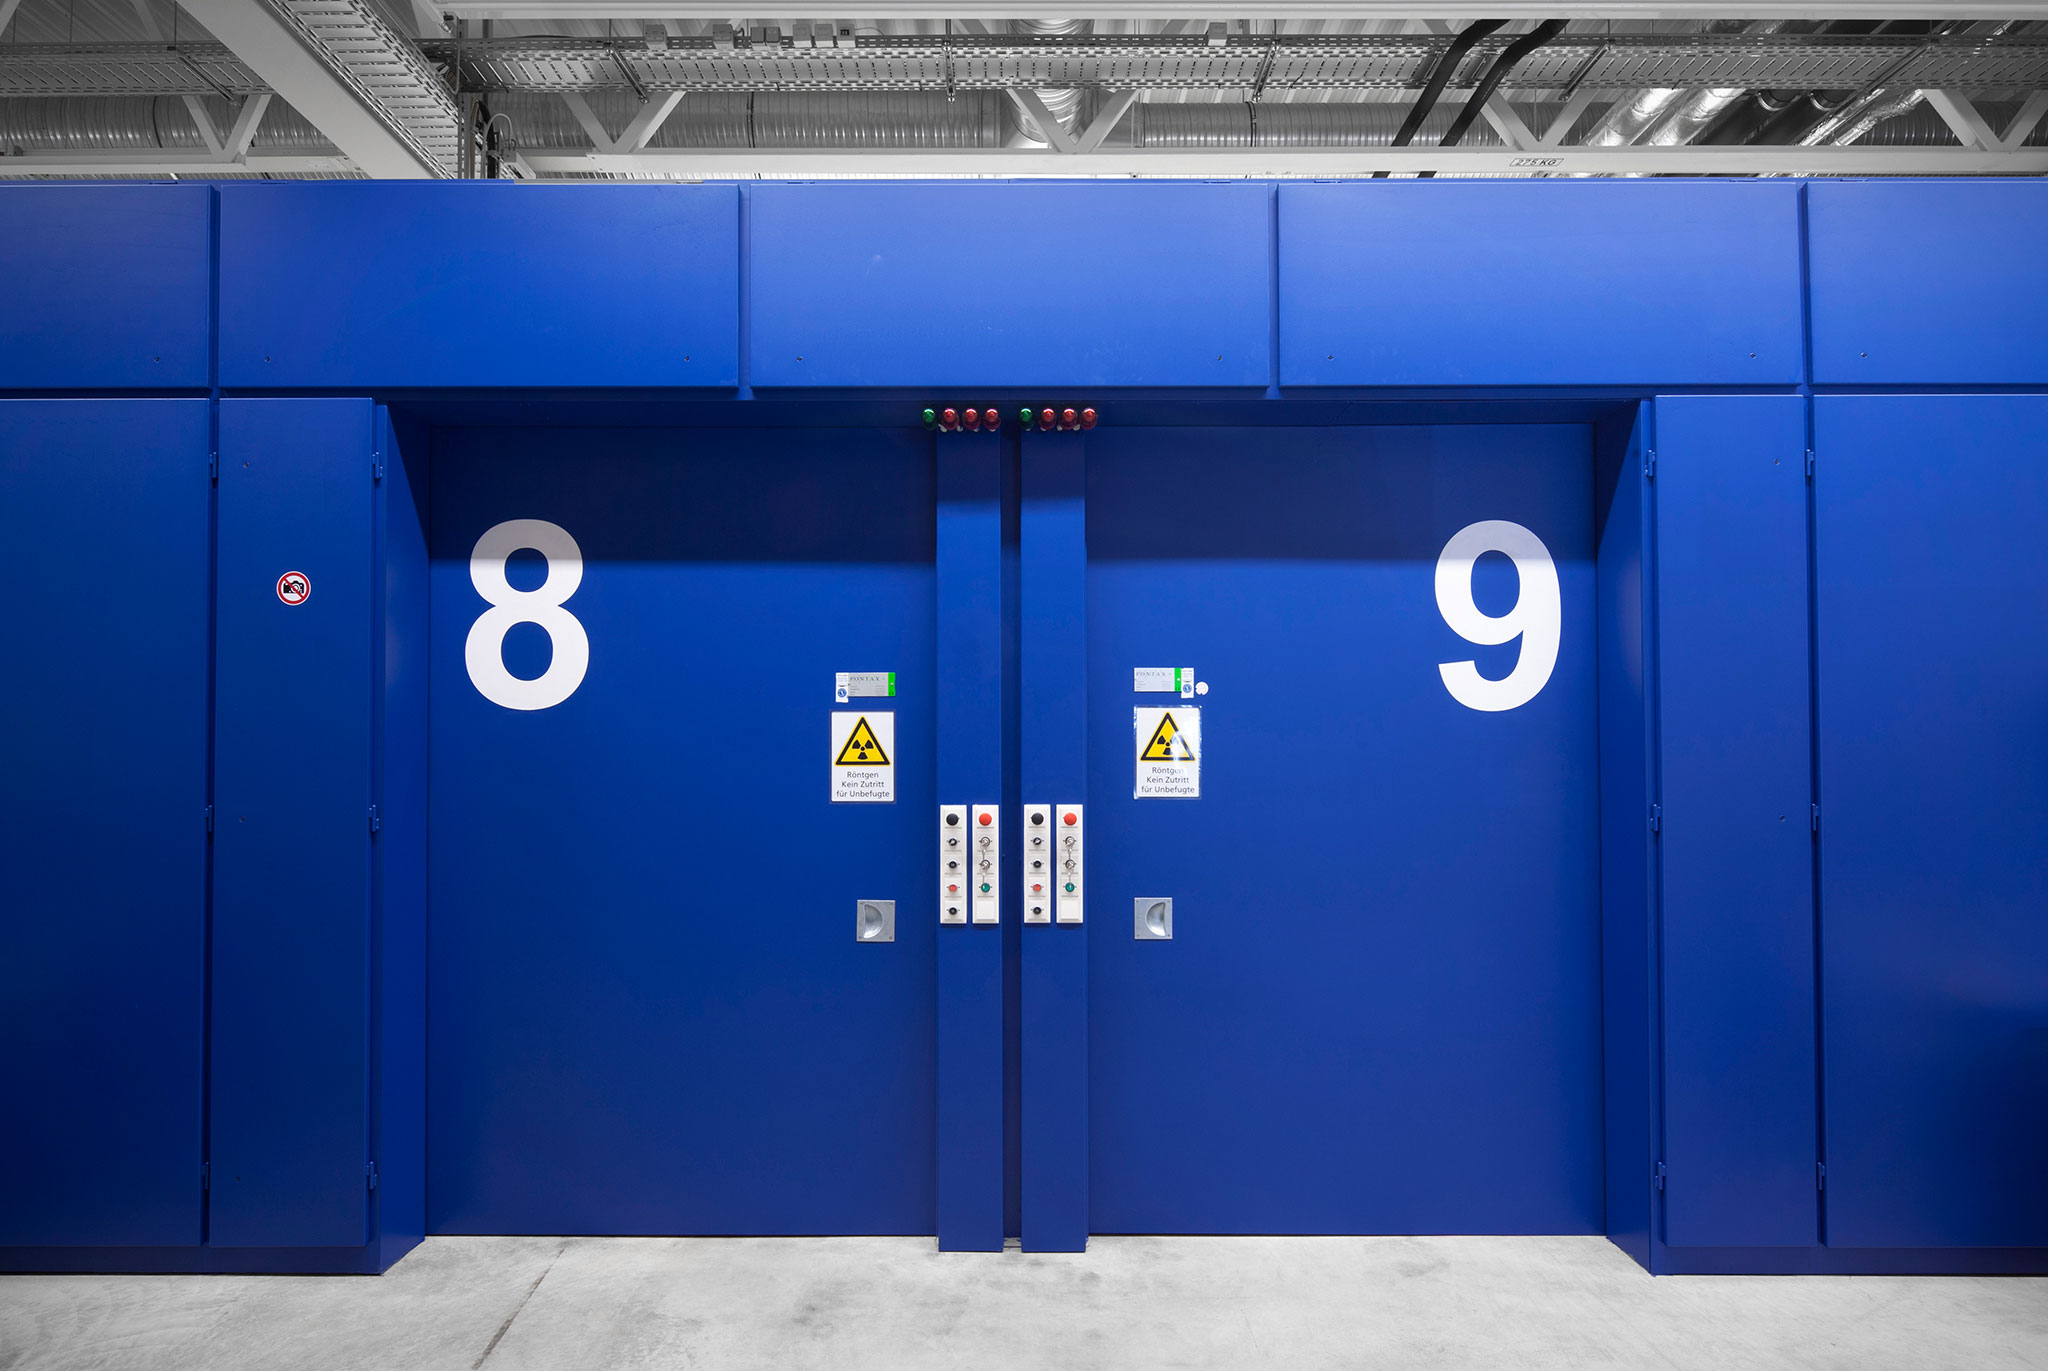
Blaue Türen der Strahlenschutzkabinen am Fraunhofer EZRT
© Fraunhofer IIS/ Gerhard Hagen
Radiation-shielded cabinet at Fraunhofer Development Center X-ray Technology EZRT.
  • Mobile CT using the CTportable device (resolution approx. 50 µm)
  • SubµCT system for small components (resolution approx. 500 nm)
  • MicroCT system with microfocus source and optional transmission head (resolution up to approx. 3.5 µm, also suitable for laminography)
  • Laminography and MicroCT system with microfocus source and optional transmission head with large travel range of up to 3 m (resolution up to approx. 1 µm)
  • DRAGONFLY system for high-speed 2D and 3D X-rays with 90 kW X-ray source and industrial robot support (resolution approx. 200 µm)
  • MacroCT system with 450 kV X-ray source for objects weighing up to 100 kg and industrial robot support (resolution up to approx. 200 µm, also suitable for laminography)
  • Flexible RoboCT system with two cooperating industrial robots (resolution up to approx. 50 µm)
  • XXL CT system with 9 MeV linear accelerator for very large objects of up to 3 m in diameter and 10 t in weight (resolution up to approx. 200 µm)
  • 2XCT system for multi-spectrum 2D and 3D measurements for material characterization (resolution up to approx. 100 µm)
  • Clean room for developing and constructing X-ray cameras
  • Optical measuring stations for optical measurements and automatic endoscopy
  • Thermography laboratory
  • Software for data analysis and reconstruction
  • Several X-ray components for building customer-specific test set-ups

LINAC test hall

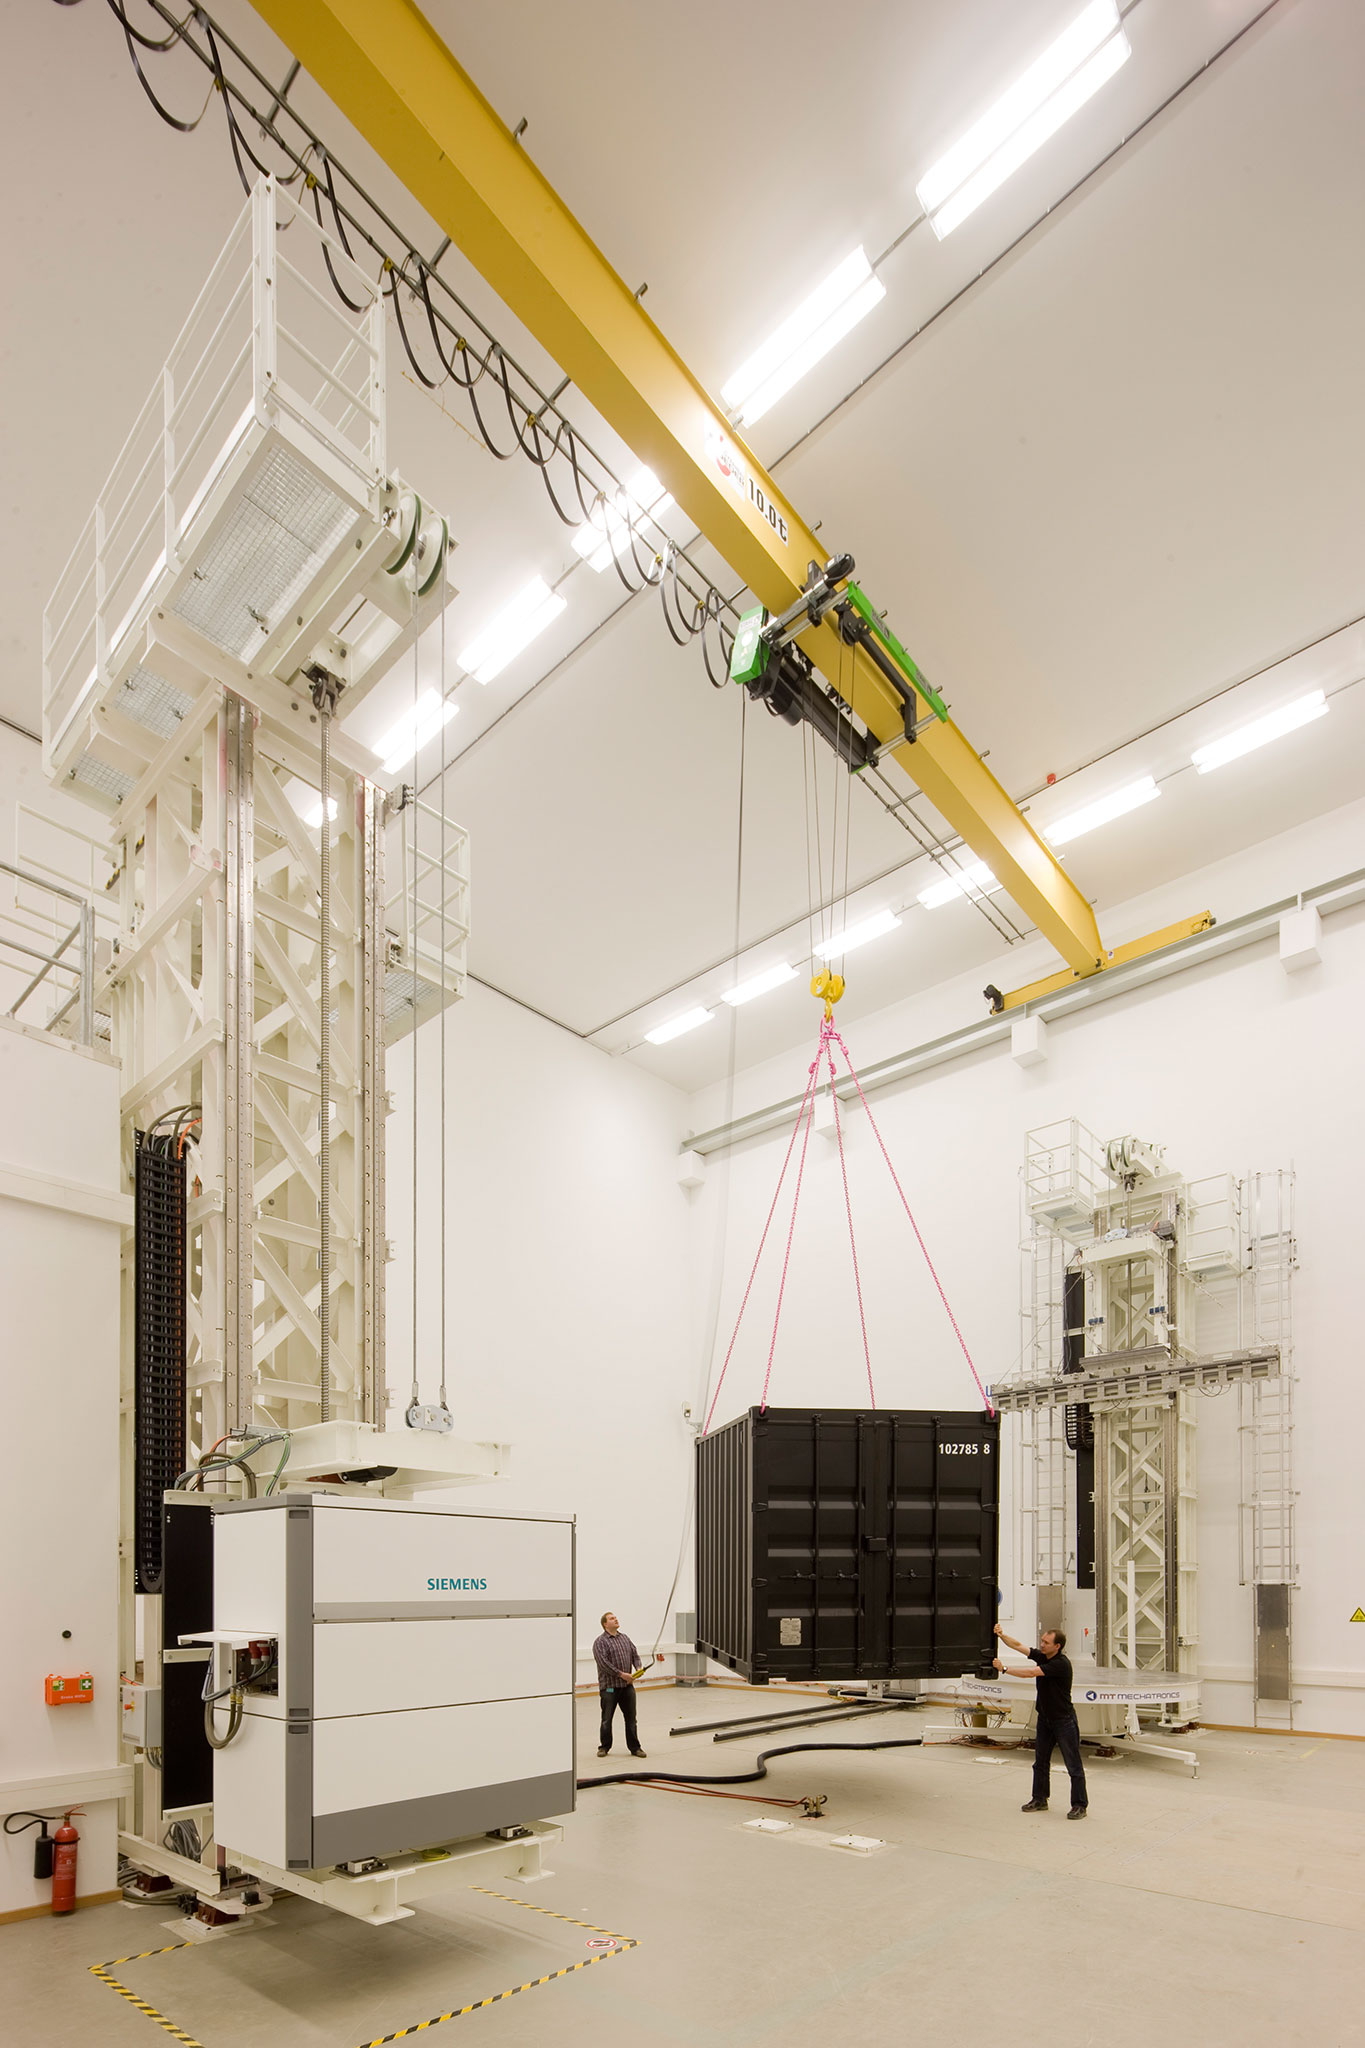
Das XXL-Computertomographie-System am Standort Fürth-Atzenhof
© Fraunhofer IIS/ Kurt Fuchs
The XXL computed tomography system at Fraunhofer’s Fürth site is the largest CT system in the world.

The test hall, which is 14 meters high and covers a surface area of 400 square meters, is home to two eight-meter-tall rigging towers, a turntable with a diameter of three meters, X-ray sources weighing three metric tons and two detectors — one four-meter-long line detector for detecting larger structures and one smaller flat panel detector with very fine resolution.

An object is positioned on the turntable using a crane and then automatically scanned line by line while rotating on its own axis. The beam energy can be altered depending on the object’s material, size and wall thickness. The maximum energy is nine megaelectron volts (MeV), which is roughly 20 times the power of conventional industrial X-ray systems. The acquired scan data are reconstructed and visualized using software developed in-house. The object can then be studied layer by layer and examined in 3D in whole or in part. This enables structural flaws and material defects to be accurately detected, characterized and evaluated. Externally inaccessible areas can also be examined.

If the test object exceeds the dimensions for a single, complete scan, it is scanned in sections. These sections are then precisely pieced together during post-processing.